Fix a Broken Double Pane Window in 10 Steps
To fix a broken double pane window in 10 steps, start by assessing whether it requires repair or a full replacement. Look for signs like fogging between the panes or any frame damage. These issues often indicate the need for a complete replacement.
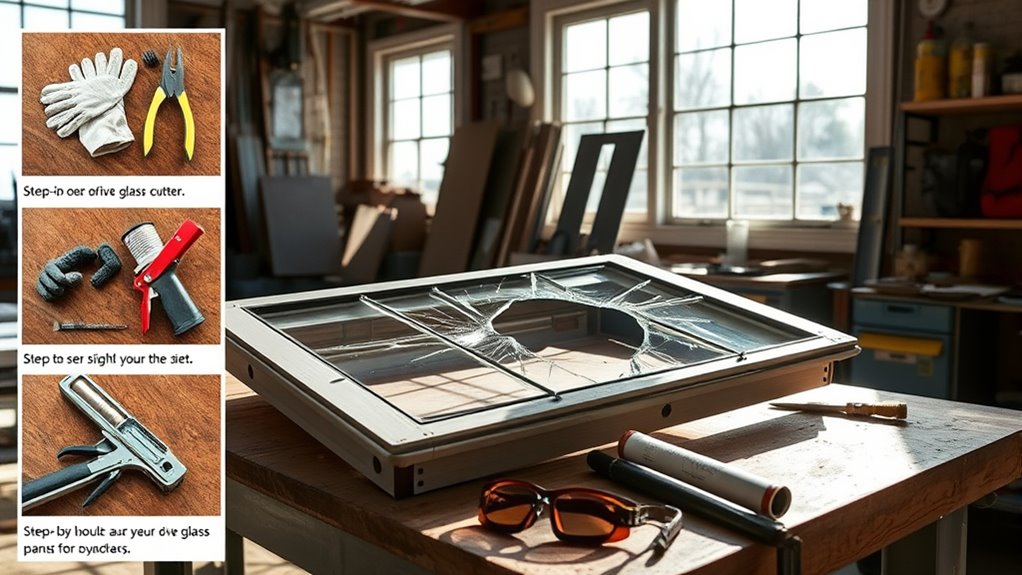
Next, gather all necessary tools such as gloves, sealant, and replacement glass. Accurate measurements of your window are crucial to ensure the new pane fits perfectly. Carefully remove the broken glass and thoroughly clean the window frame to prepare for installation.
Apply double-sided tape to the frame, then set the new glass pane in place. Seal all edges meticulously with sealant to create an airtight barrier. Allow the sealant to cure for 24-48 hours to guarantee a strong, durable finish.
Continue reading to discover detailed tips and tricks for each step to help you successfully fix your broken double pane window.
Decide If Your Double Pane Window Needs Repair or Replacement
Although it might seem tempting to fix a cracked double pane window yourself, you’ll need to assess whether repair or full replacement is the right choice. If you have broken glass but the seal remains intact, you might consider repairing or partially replacing the glass.
However, if seal failure has occurred, resulting in gas leakage between the panes, you’ll likely need a full window replacement to restore insulation and prevent fogging. Damage to the frame or sash also usually means replacement is necessary.
Don’t ignore signs like condensation or fogging inside the panes—these often indicate that the double pane window’s seal has failed. By carefully evaluating these factors, you can decide whether a simple repair will suffice or if a complete window replacement is the better investment.
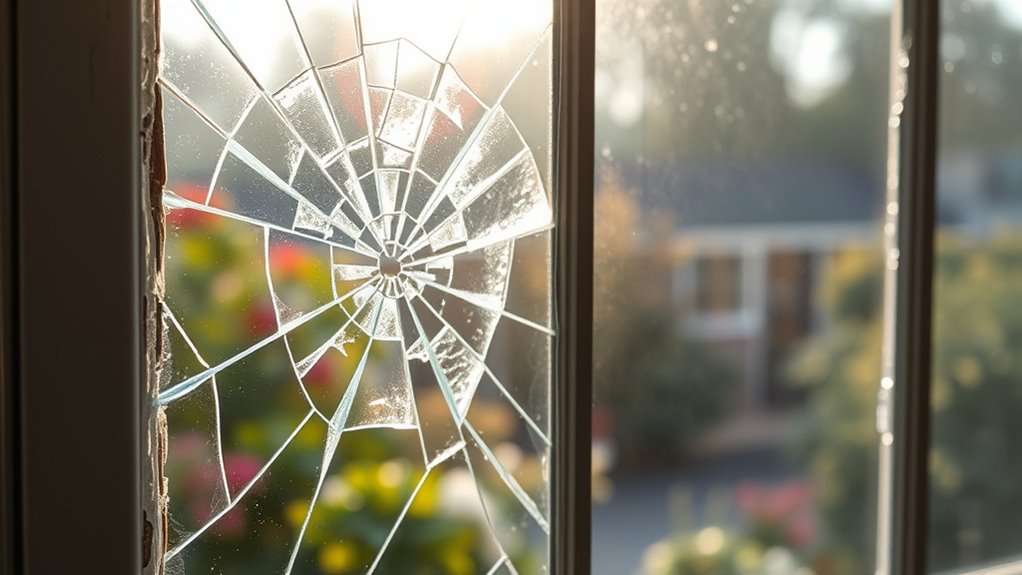
Identify Damage in Your Double Pane Window

How can you tell if your double pane window is damaged? Start by inspecting the glass closely. Cracked glass or visible shattering clearly signals damage.
Next, check for foggy windows; a cloudy appearance between the panes usually means seal failure. This seal failure often leads to gas leakage, which reduces insulation effectiveness. You might also notice uneven temperature or increased condensation inside the window frame—both signs the sealed unit is compromised.
Physical warping or bowing of the glass indicates structural problems that need attention. By identifying these symptoms—cracked glass, foggy windows, seal failure, and potential gas leakage—you can determine the extent of damage in your double pane window and decide on the appropriate repair steps.
Gather Tools and Materials for Double Pane Window Repair
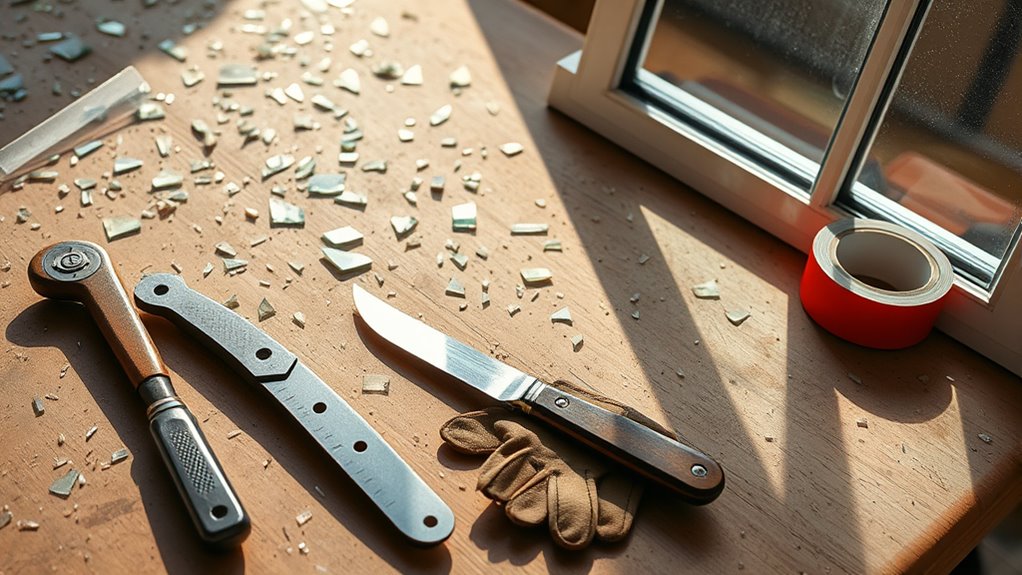
Before you begin fixing your double pane window, gather all the necessary tools and materials to guarantee a smooth repair process. For an effective window repair, you’ll need essential tools and materials, including a utility knife, putty knife, razor blade, and a caulking gun to handle old sealant and apply new sealant properly.
Prepare replacement double-pane glass, double-sided sticky tape, and silicone sealant to ensure a tight, durable fit. Don’t forget safety goggles and gloves to protect yourself from broken glass and sharp edges. Measuring tools like a tape measure and level are vital for checking the new glass fits perfectly.
A heat gun or hairdryer can help loosen stubborn sealant, making removal easier. Having these tools and materials ready sets you up for a successful repair.
Measure Your Double Pane Window Accurately Before Removal
When you’re ready to replace your double pane window, start by measuring it accurately to guarantee a perfect fit. Use a tape measure to get the width and height of the glass from edge to edge, including any frame margins. Don’t forget to measure the thickness of the glass, as it’s essential for the glass replacement to match the original specs.
Also, check the spacer width between the panes since it affects the overall size and fit. Record all your measurements carefully in inches or millimeters and note any irregularities or non-standard sizes. Double-check everything multiple times before ordering to avoid mistakes.
Accurate measurements ensure the new glass fits properly into the window sash, making your repair smoother and more effective.
Remove the Window Sash or Glass Pane Carefully
Now that you’ve measured accurately, it’s time to remove the sash or glass pane carefully. Use a putty knife to pry off stops gently and wear gloves and goggles to protect yourself from shards.
Handle the glass with care, noting its position for smooth reinstallation later.
Safely Detach The Sash
Although removing the sash or glass pane requires patience, you’ll want to pry off the window stops carefully using a putty knife or small pry bar to avoid damaging the frame. Start by gently loosening the stops, then slowly lift or slide out the sash, applying even pressure to prevent cracking the glass pane. Make sure to wear gloves and safety goggles to protect yourself from any shards.
Before you remove the sash, measure its dimensions precisely to ensure the replacement fits perfectly. Keep all removed parts organized and stored safely so you can reinstall or replace them easily. Taking these careful steps will help you detach the sash safely without causing further damage or injury.
Handle Glass With Care
Since broken glass can cause serious injury, always wear gloves and eye protection before you start removing the window sash or glass pane. Put on protective gloves to guard against shards. Use a utility knife to carefully cut sealant around the edges.
Then, gently pry the glass or sash loose with a pry bar, avoiding uneven pressure that could cause further breakage. Lift and support the glass evenly as you remove it. Place the glass on a padded, stable surface to prevent accidental damage or injury.
Below is a quick guide:
| Step | Tool Needed | Tip |
|---|---|---|
| Wear safety | Protective gloves | Prevent cuts from glass shards |
| Cut sealant | Utility knife | Gently slice around edges |
| Pry loose | Pry bar | Apply even pressure |
| Lift glass | Hands (gloved) | Support evenly to avoid cracks |
| Place down | Padded surface | Prevent breakage on impact |
Extract Broken Double Pane Glass Safely From the Frame
Before you begin removing the broken glass, make sure you’re wearing heavy-duty gloves and eye protection to prevent injury from sharp shards. Start by carefully scoring the sealant around the broken double pane glass with a utility knife. This loosens the glass without damaging the window frame.
Next, use a pry bar or putty knife to gently separate the glass from the sash, applying even pressure to avoid further breakage. Support the pane as you lift it out to prevent sudden cracks or accidents.
Once removed, dispose of the broken glass safely in a sturdy container to protect yourself and the environment. Taking these careful steps ensures a smooth glass removal process and prepares you for the next repair stages.
Clean and Prepare the Frame for New Glass Installation
Once you’ve removed the broken glass, you’ll need to clean the window frame thoroughly to guarantee the new pane adheres properly. Start by scraping off any leftover adhesive tape or sealant with a razor blade or putty knife to ensure the frame surface is smooth.
Next, clean the entire frame using glass cleaner or a mild soap and water solution to remove dirt, dust, and grease. Dry the frame completely with a clean cloth to prevent moisture from affecting adhesion.
Inspect the frame carefully for any damage or warping, and repair or replace any compromised sections before proceeding. Finally, apply a fresh bead of silicone or weatherproof sealant around the inside edge of the frame to prepare a secure, airtight seal for the new glass installation.
Apply Double-Sided Tape Around the Frame for New Glass
When you apply double-sided tape around the window frame, you create a strong, airtight seal that holds the new glass securely in place. This step is vital to replace the broken pane effectively and prevent air leaks. Before applying, make certain the window frame is clean and dry to maximize adhesion.
Use a tape designed for sealing, like butyl-based double-sided tape, for the best results. Press tape firmly along the entire perimeter of the window frame. Place extra strips at each corner and edges for even support.
Ensure the tape adheres smoothly without gaps or bubbles. Confirm the tape creates a continuous seal to prevent drafts. This careful application of double-sided tape ensures a durable seal and proper adhesion for your new glass.
Position and Secure the New Double Pane Window Glass
After securing the double-sided tape around the frame, carefully place the new double-pane glass into position. Focus on aligning the glass properly with the existing seals and spacers within the window frame. Use a level or straightedge to ensure the double-pane glass sits perfectly centered and flush.
Once aligned, gently press the glass into the sealing tape or applied sealant to create a secure, airtight fit. Reinstall any stops or trim pieces you previously removed to hold the glass firmly in place and prevent any shifting.
Taking these steps will ensure the new double-pane glass is well secured within the window frame, setting a solid foundation before you move on to sealing all edges for a lasting repair.
Seal All Edges and Let the Sealant Cure Before Use
You’ll want to apply a high-quality sealant evenly around all edges to make certain no gaps are left. Use a caulking gun for smooth, consistent coverage, sealing every seam thoroughly.
Then, let the sealant cure for 24 to 48 hours without disturbing the window to guarantee a strong, lasting bond.
Applying Sealant Evenly
Although applying sealant may seem straightforward, ensuring an even, continuous bead around all edges is essential to maintain your double-pane window’s airtight integrity. Use a caulking gun to apply the sealant evenly, keeping steady pressure to avoid gaps or lumps. Focus on the junctions where glass meets frame, sealing thoroughly to block air and moisture.
After application, let the sealant cure undisturbed for 24 to 48 hours to form a durable, airtight bond. Remember, touching the sealant during curing can weaken the seal.
Keep these tips in mind when applying sealant:
- Use high-quality silicone or urethane sealant
- Maintain smooth, consistent bead with a caulking gun
- Seal all corners and edges without breaks
- Allow full curing time before handling or cleaning
Ensuring Complete Edge Coverage
Applying sealant evenly sets the foundation, but sealing every edge completely guarantees your double-pane window stays airtight and insulated. You need to apply a high-quality silicone or urethane sealant along the entire perimeter, paying special attention to corners and edges. This thorough edge coverage prevents air infiltration and moisture from compromising insulation.
Once applied, don’t rush to handle or expose the window to weather. Proper curing is essential—it allows the sealant to form a strong, airtight bond that maintains the window’s insulating properties. Avoid stressing the seal during this time to assure the sealant cures effectively.
Recommended Cure Time
Because a proper seal depends on thorough curing, you should wait at least 24 to 48 hours before using your repaired window. This cure time allows the sealant to form a strong, airtight, and watertight seal, essential for lasting window repair. During this period, avoid disturbing the seal or opening the window to ensure proper curing.
Keep in mind, cure time varies by sealant type—silicone cures faster than polyurethane.
To ensure a successful seal and window repair:
- Seal all edges evenly for a complete barrier
- Avoid touching or moving the window during curing
- Keep the area dry and free from dust
- Confirm the sealant has fully cured before use
Following these steps guarantees a durable, leak-proof seal.
Frequently Asked Questions
How to Fix a Broken Double-Pane Window?
You’ll remove the broken glass carefully, clean the frame, then apply sealant or double-sided tape.
Next, position the new glass firmly and seal all edges with silicone caulk to guarantee insulation and prevent leaks.
Does Ace Hardware Repair Double-Pane Windows?
You won’t find Ace Hardware wielding a wizard’s touch to repair double-pane windows. They don’t fix them but can supply materials and point you to pros who can restore your glass fortress with skill and care.
How to Fix a Broken Window Pane Without Replacing It?
You can temporarily seal a broken window pane with clear tape or a plastic film to prevent drafts and moisture.
For a more durable fix, apply clear epoxy resin to fill cracks, but full replacement is best long-term.
How Much Does It Cost to Replace a Double Glazed Pane of Glass?
Replacing a double-glazed pane usually costs you between $200 and $600, but it can climb up to $1,000 for custom sizes or specialty glass.
Adding professional installation might tack on another $100 to $300.
Conclusion
Now that you’ve breathed new life into your broken double pane window, you’re not just sealing glass—you’re framing fresh views and brighter days. Like a skilled artist restoring a masterpiece, your careful hands have turned a crack into clarity.
Remember, patience is your brush, and precision your palette. With each step, you’ve crafted a shield against the chill, inviting warmth and light to dance freely once again in your home.
By following these steps to fix a broken double pane window, you’ve enhanced your home’s energy efficiency and aesthetic appeal. This repair not only preserves the integrity of your window but also ensures comfort and savings in the long run.