How to Stop Oil Leak From Oil Pan Step by Step
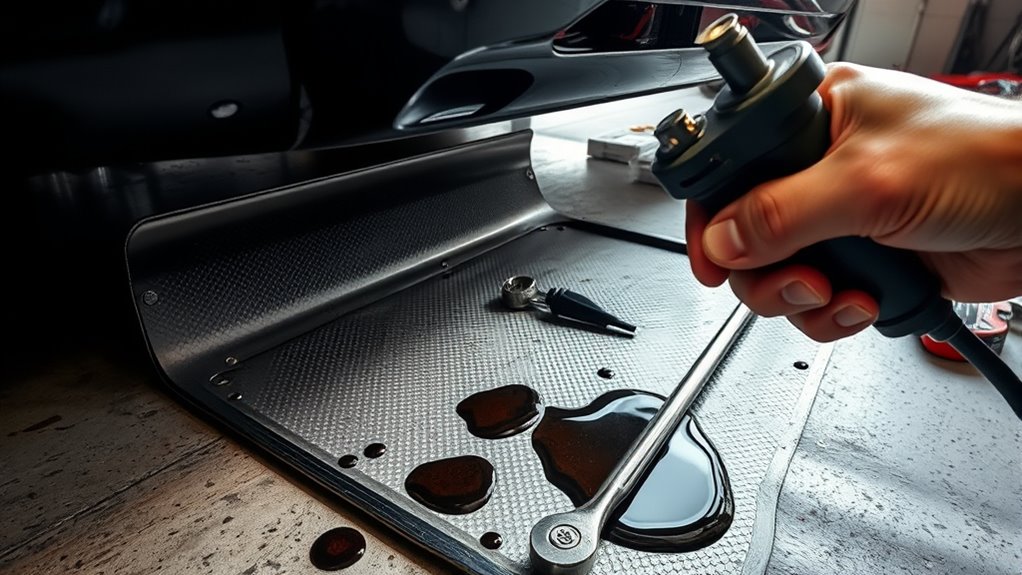
To stop an oil leak from your oil pan, start by inspecting the gasket, bolts, and drain plug for any signs of oil. Identifying the exact source of the leak is crucial before proceeding.
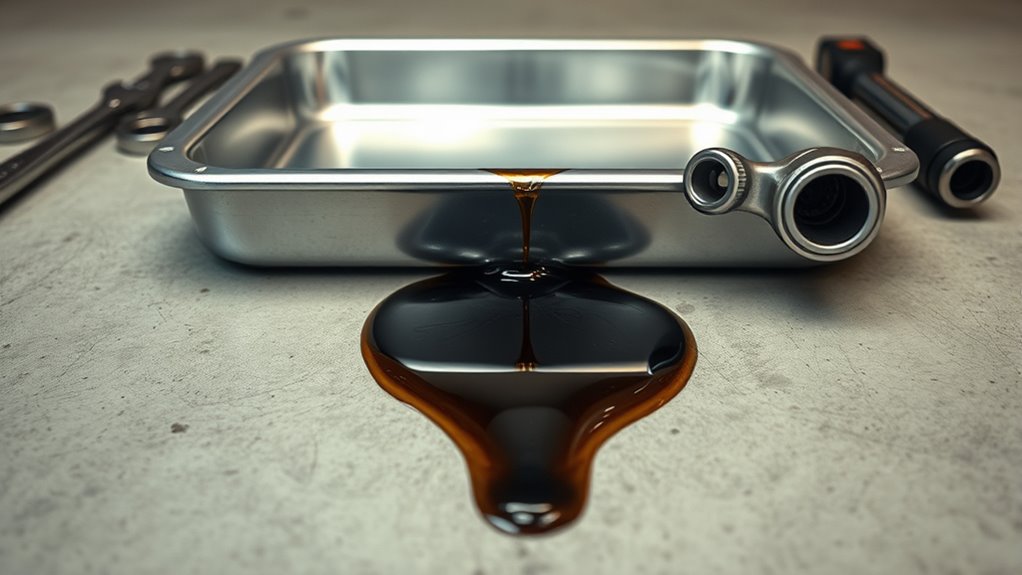
Once confirmed, warm up the engine and drain the oil completely. This ensures a cleaner workspace and prevents spills when you remove the oil pan.
Next, loosen the pan bolts in a crisscross pattern to avoid warping. Carefully remove the oil pan and clean off the old gasket residue thoroughly.
Install a new gasket or apply the appropriate sealant as needed. Reattach the pan, tightening the bolts evenly to the manufacturer’s specifications.
Finally, refill the engine with oil and monitor the oil levels closely for any signs of continued leaking. Following these steps properly will help guarantee a lasting fix for your oil pan leak.
What Causes Oil Leaks From the Oil Pan
Although oil pans are designed to be durable, they can develop leaks over time due to several common issues. You might notice an oil leak because the gasket has degraded, cracked, or worn out, which happens naturally with age and heat exposure.
If your vehicle hits a curb or debris, dents or cracks in the oil pan can also cause leaks. Loose or improperly tightened oil pan bolts create gaps where oil escapes, so double-check their torque.
Don’t overlook the drain plug and its washer—they often wear out and lead to leaks too. Finally, oil seals around the pan can deteriorate, allowing oil to seep through. Understanding these causes helps you identify why your oil pan leaks and take action to fix it.
How to Confirm the Oil Pan Is the Leak Source
To confirm that the oil pan is the source of your leak, start by visually inspecting the pan and its surrounding area for fresh oil or drips, focusing on the gasket and drain plug.
Wipe the oil pan surface clean with a dry rag, then run the engine briefly and check if oil appears again in the same spot.
Elevate your vehicle safely to get a clear view underneath, looking for active seepage or pooling oil.
Check the oil level using the dipstick before and after running the engine; a drop may indicate an oil leak source at the oil pan or gasket.
For a precise diagnosis, apply UV dye to the oil system and use a UV flashlight to identify the exact origin of the oil leak.
Tools and Safety Tips for Oil Pan Leak Repair
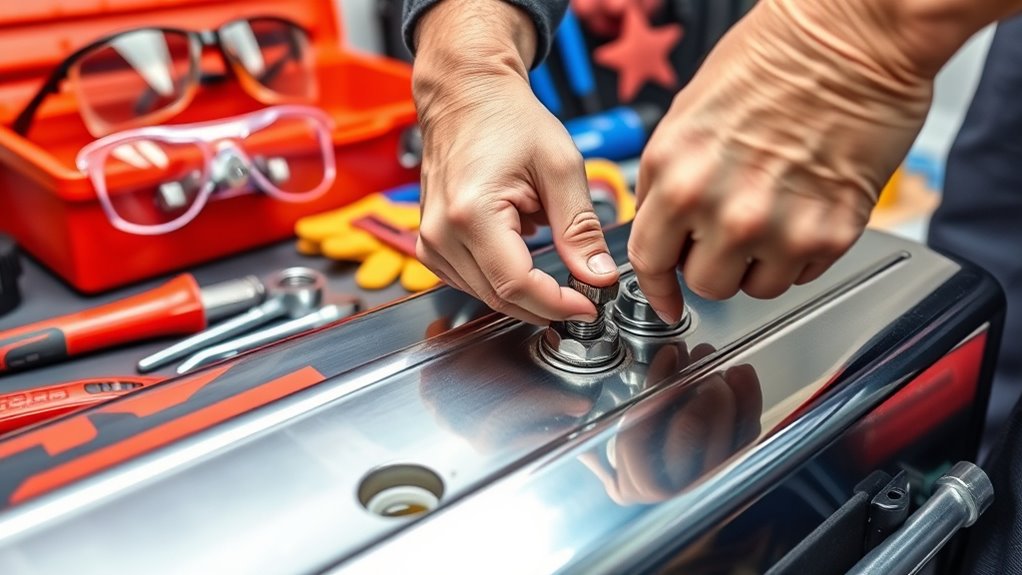
After confirming the oil pan as the leak source, you’ll want to gather the right tools and take safety precautions before starting the repair. Essential tools include a socket set, torque wrench, pry tools, and a gasket scraper to remove old seals cleanly.
For safety tips, always wear gloves and safety glasses to protect against hot oil and debris. Use a proper jack and jack stands rated for your vehicle’s weight to securely elevate it on a clean, level surface. Make sure the engine is cool before you begin to avoid burns and improve leak visibility.
Following manufacturer instructions closely helps prevent damage during disassembly and reassembly. These tools and safety tips ensure a smooth, safe oil pan leak repair process.
How to Choose Between Oil Pan Gasket Replacement and Sealant
When deciding how to fix an oil pan leak, you’ll need to weigh whether replacing the gasket or applying a sealant makes the most sense based on the leak’s severity and your vehicle’s condition. If the gasket is cracked or deformed, gasket replacement is best for a lasting solution. Sealant works well for minor oil leak seepage or as a temporary fix.
Consider these factors:
- Use gasket replacement for persistent or significant leaks.
- Apply sealant on clean, dry surfaces for small leaks.
- Follow manufacturer guidelines, especially for RTV sealants on transmission pans.
- Factor in your vehicle’s age and leak severity before choosing a method.
Choosing the right approach ensures you stop the oil leak effectively and avoid repeated repairs.
How to Drain Oil and Remove the Oil Pan
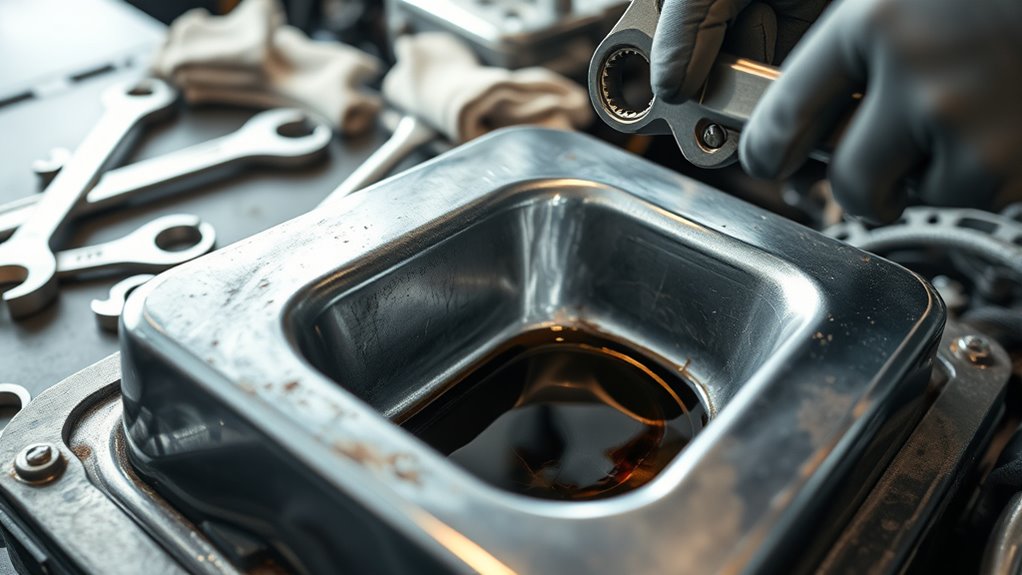
Start by warming up your engine to help the oil flow smoothly, then remove the oil filler cap to let air in. Place a drain pan beneath the oil pan to catch the oil drain. Use a suitable socket or wrench to loosen and remove the drain plug, allowing all the oil to completely drain out into the container.
Once drained, carefully unbolt the oil pan bolts in a crisscross pattern to prevent warping. Gently pry the oil pan away from the engine block after all bolts are removed. Be cautious to avoid damaging the mating surfaces.
With the oil pan removed, you’re ready to proceed with cleaning and inspecting before replacing the gasket or sealant. This step is vital for stopping future oil leaks effectively.
Cleaning and Inspecting the Oil Pan and Gasket
Although you’ve removed the oil pan, you still need to thoroughly clean and inspect it along with the gasket surfaces. Keep in mind, the oil pan is a common source of oil leaking, so a careful check is vital to stop leak issues.
Start by removing dirt, oil dripping residue, and old gasket material. Then, inspect for cracks or corrosion since damage here can cause the leak you’re trying to fix.
Remove grime and old gasket, then check for cracks or corrosion causing the leak.
- Use a gasket scraper and solvent to clean all surfaces.
- Dry the oil pan and gasket areas completely.
- Check for smooth, undamaged bolt holes and sealing surfaces.
- Look closely for any oil leaking spots you can’t see at first glance.
This step is as essential as inspecting the valve cover or monitoring the oil level to find where the leak is coming from.
How to Apply a New Gasket or Sealant Correctly
Before applying a new gasket or sealant, make sure the mating surfaces are completely clean and dry. You’ll want to spread a thin, even layer of sealant around the gasket perimeter, following the product’s instructions carefully.
Position the gasket precisely to avoid gaps or air pockets, then tighten the bolts evenly to ensure a proper seal.
Surface Preparation Essentials
When preparing to apply a new gasket or sealant, you need to guarantee the mating surfaces are impeccably clean and dry. This step is vital for a strong, leak-proof seal. Start by thoroughly cleaning the surfaces with a degreaser or brake cleaner to remove oil, dirt, and old gasket residue.
Next, lightly roughen smooth surfaces with fine-grit sandpaper or a Scotch-Brite pad to enhance adhesion. Make sure there’s no residual oil or moisture before proceeding. Finally, use a compatible gasket maker or sealant that meets manufacturer specs.
- Clean surfaces with degreaser or brake cleaner
- Lightly roughen smooth surfaces for better adhesion
- Ensure surfaces are completely dry and oil-free
- Use manufacturer-approved gasket maker or sealant
This preparation ensures a reliable oil pan seal.
Sealant Application Techniques
Since a proper sealant application is essential for preventing leaks, you should apply a thin, even bead of gasket sealer along the entire edge of the gasket, taking care not to use too much to avoid excess squeezing into the engine. Before applying, make sure the engine and mating surfaces are clean and dry to guarantee good adhesion. Use a high-quality, sensor-safe sealant like Permatex gasket maker for dependable sealing.
After applying the sealant, wait the manufacturer’s recommended curing time—usually 15 to 30 minutes—to let it set properly. When installing the oil pan, tighten the bolts evenly in a crisscross pattern to apply uniform pressure and form a solid seal. Following these steps will help you achieve a reliable, leak-free oil pan gasket seal.
How to Reinstall the Oil Pan and Torque Bolts Properly
Although reinstalling the oil pan might seem straightforward, you need to clean and inspect the mating surfaces and bolt holes carefully to guarantee a proper seal. Any debris or damage can cause leaks, so start with a thorough cleaning.
When you’re ready to torque the bolts, follow the manufacturer’s recommended sequence and specs to avoid warping the pan.
Keep these tips in mind:
- Use a calibrated torque wrench for accuracy.
- Tighten bolts gradually in multiple passes, following the specified pattern.
- Replace damaged or worn bolts to maintain gasket integrity.
- Allow the sealant or gasket to cure fully before adding oil or running the engine.
This careful approach ensures a durable, leak-free oil pan installation.
How to Check for Leaks and Monitor Oil Levels After Repair
Once you’ve properly reinstalled the oil pan and torqued the bolts, you need to start the engine and let it run for 15 to 20 minutes to spot any new leaks or seepage. Afterward, inspect the area around the oil pan, gasket, and drain plug for fresh oil.
Check beneath the vehicle for any oil spots over the next few days. Use the dipstick to ensure oil levels remain above the fill line once the engine cools down. If you notice leaks, re-tighten bolts and reseal the gasket as needed.
| What to Check | How to Check |
|---|---|
| Oil pan area | Visual inspection for fresh oil |
| Ground beneath car | Look for oil spots or puddles |
| Oil level | Dipstick reading after cooling down |
Frequently Asked Questions
How to Stop Oil Leak From Oil Pan?
You’ll stop the oil leak by tightening loose bolts, cleaning the sealing surfaces, replacing the gasket or applying sealant, then reinstalling the pan carefully.
Make sure everything’s torqued evenly before refilling oil and testing for leaks.
Will JB Weld Work on an Oil Pan?
Yes, JB Weld can work temporarily on an oil pan if you clean and roughen the surface first.
But don’t rely on it long-term—it’s a quick fix, and you’ll still need proper repairs eventually.
What Is the Best Sealant for Oil Pan Leak?
You might think any sealant works, but it doesn’t. You should choose Permatex Ultra Black or a sensor-safe RTV silicone; they resist oil and heat, ensuring a durable, leak-proof seal that keeps your engine safe.
Will Tightening Oil Pan Bolts Stop Leak?
Tightening oil pan bolts can stop minor leaks caused by loose bolts, but don’t over-tighten.
If the gasket’s damaged or bolts are already snug, tightening won’t fix the leak, and you might need gasket replacement.
Conclusion
Fixing an oil pan leak might seem intimidating, but with the right tools and steps, it’s surprisingly straightforward. While ignoring the leak risks engine damage, taking a little time now prevents costly repairs later.
You’ll trade the mess and stress of a leaking oil pan for the satisfaction of a clean, sealed engine. So, roll up your sleeves—what feels like a hassle now becomes a smart, lasting solution.
By following these steps carefully, you can stop the oil leak from the oil pan effectively. Proper sealing and timely maintenance ensure your engine runs smoothly without further issues. This step-by-step approach to fixing an oil pan leak saves money and protects your vehicle’s longevity.