10 Simple Steps to Make Eggs Over Easy in the Microwave
Pick a microwave-safe dish, lightly grease it, and crack your egg carefully to keep the yolk intact.
For perfectly cooked over easy eggs in the microwave, poking the yolk with a toothpick is a helpful trick.
Cover the dish to avoid any mess during cooking.
Microwave on low until the whites are set, then gently flip the egg using a flat spatula.
Cook the other side briefly to achieve the ideal over easy texture.
Let the egg rest for a moment to finish cooking evenly.
Follow these simple steps, and you’ll master perfectly cooked over-easy eggs in no time with a little extra help.
Enjoy your quick and easy breakfast made right in the microwave!
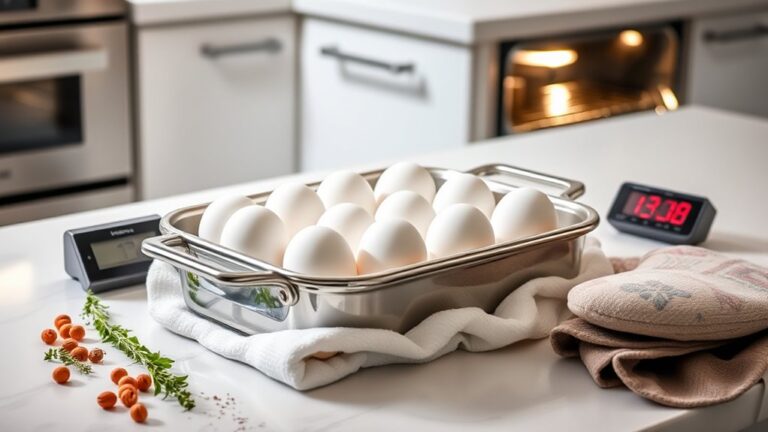
Pick a Microwave-Safe Dish That Fits One Egg
Before you start cooking, pick a microwave-safe dish that fits one large egg comfortably. A small bowl, ramekin, or mug with a flat base works best. Make sure the dish is at least 3 inches in diameter to give the egg enough room to cook evenly without spilling over.
Avoid metal or plastics that aren’t microwave-safe, as these can cause sparks or melting. Check your chosen dish for any cracks or damage before using it to prevent accidents. To be safe, test the dish by heating water in it for about 30 seconds to confirm it won’t overheat or crack.
Choosing the right microwave-safe dish ensures your egg cooks perfectly and keeps your microwave safe.
Lightly Grease the Dish to Prevent Sticking
Since eggs tend to stick to surfaces when cooked, you’ll want to lightly grease your microwave-safe dish with about a teaspoon of oil or non-stick spray. This thin, even non-stick coating helps prevent sticking and makes cleanup easier. Use cooking spray or brush oil evenly over the entire surface where the egg will sit.
Avoid adding too much oil to prevent splattering and uneven cooking. If you’re making multiple batches, reapply a light coating of oil to maintain the non-stick effect.
| Tip | Reason |
|---|---|
| Use 1 tsp oil | Creates a thin, even coating |
| Cover entire surface | Ensures easy egg removal |
| Avoid excess oil | Prevents splattering |
| Reapply for batches | Maintains non-stick coating |
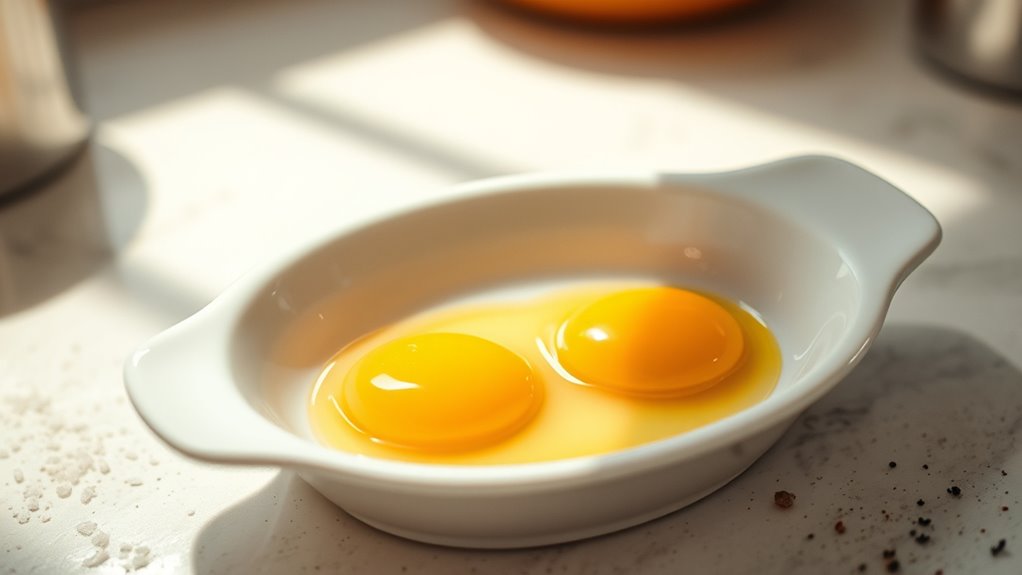
Crack the Egg Carefully to Keep the Yolk Intact
When you crack the egg, handle it gently to avoid breaking the yolk. Tap it softly on a flat surface, then carefully open the shell to keep the yolk centered.
Taking your time here makes all the difference in preserving its integrity.
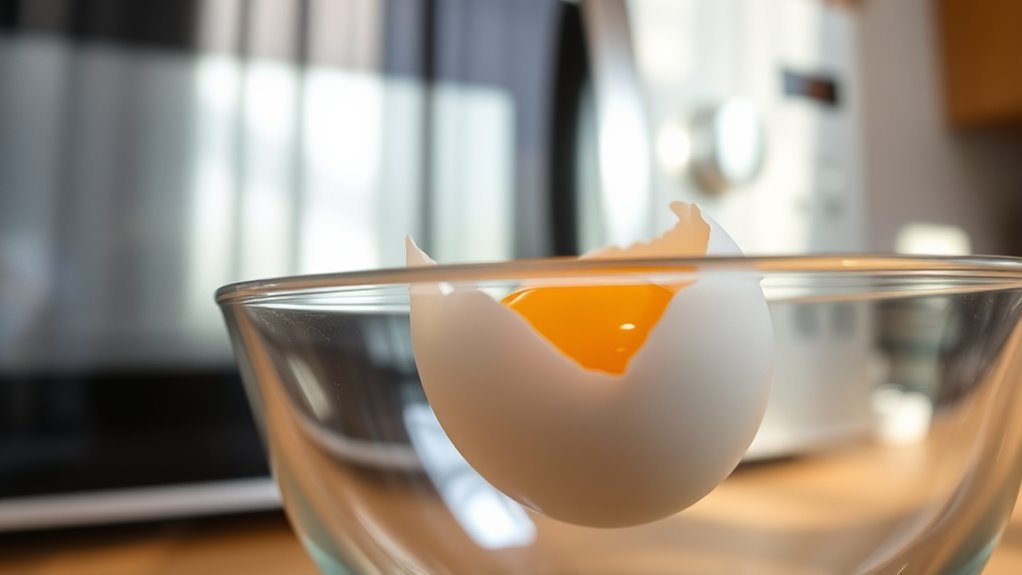
Handling Eggs Gently
Although cracking an egg may seem simple, you need to handle it gently to keep the yolk intact. Start by tapping the shell softly on a flat surface to avoid shell shards contaminating the yolk. When you crack the egg, use a slow, controlled motion to minimize impact.
Hold the shell halves apart carefully—don’t squeeze them tightly, or you might rupture the yolk. Crack the egg into a separate bowl first to ensure the yolk remains whole before transferring it to your cooking dish. By handling the egg with care at every step, you reduce the risk of breaking the yolk or spilling it, giving you the best chance to make perfect over-easy eggs in the microwave.
Preserving Yolk Integrity
To keep the yolk intact, you’ll need to crack the egg gently on a flat surface and use your fingers or thumbs to slowly open the shell halves. This careful egg cracking preserves yolk integrity, vital for perfect microwave eggs. Avoid quick or forceful movements that can break the yolk, which is essential for a flawless breakfast.
| Step | Action | Tip |
|---|---|---|
| 1 | Tap egg on flat surface | Prevent shell shards |
| 2 | Crack gently | Avoid piercing yolk |
| 3 | Open shell slowly | Use thumbs or fingers |
| 4 | Poke yolk lightly (optional) | Helps even cooking |
Following these steps ensures your yolk stays whole, making your microwave eggs delicious every time.
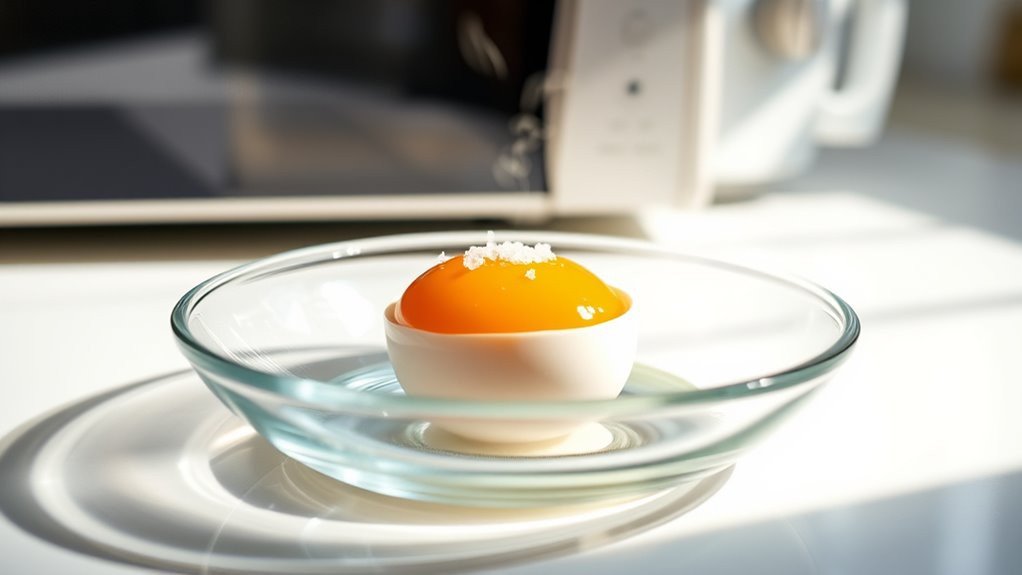
Poke the Yolk So It Doesn’t Explode
Why should you poke the yolk before microwaving your egg? When you microwave eggs, steam builds up quickly inside the yolk. If you don’t poke yolk with a toothpick or fork, pressure can cause it to explode, creating a mess and risking cooking safety.
By poking tiny holes in the yolk, you allow steam to escape, preventing explosion. This simple step is vital, especially when cooking eggs at high power levels for around 45 seconds. Not only does it reduce the risk of rupture, but it also helps your egg cook evenly without bursting.
Always remember to poke the yolk before microwaving your eggs to keep your microwave clean and guarantee a perfectly cooked over-easy egg.
Cover the Dish for Even Microwave Cooking and Less Mess
When you cover your dish with a microwave-safe lid or plate, you trap steam that helps cook your eggs evenly while preventing messy splatters inside the microwave. This steam promotes even cooking by distributing heat uniformly, ensuring your egg whites stay tender and yolks maintain a consistent texture.
Using a proper microwave-safe cover also keeps moisture locked in, so your eggs don’t dry out during cooking. Be sure to choose a cover designed for microwave use to avoid melting or chemicals leaching into your food.
After cooking, carefully remove the cover to avoid burns from hot steam, and check the eggs for doneness. Covering the dish not only makes your eggs perfect but also keeps your microwave cleaner, saving you time and effort.
Microwave on Low Power for 40–60 Seconds
Although microwaving eggs quickly can be tempting, you should cook them on low power—around 360W—for 40 to 60 seconds to guarantee even cooking without overdoing the whites or breaking the yolk.
Before microwaving, poke a small hole in the yolk to prevent it from exploding. Place your covered dish with the eggs in the microwave and start with 40 seconds on low power. This method helps keep the yolk runny while gently setting the whites, perfect for achieving eggs over easy.
If needed, add extra cooking time in 10-second increments until the whites are mostly set but the yolk remains soft. After microwaving, let the eggs rest briefly to allow residual heat to finish cooking, ensuring your eggs over easy come out just right every time.
Check If Egg Whites Are Set Before Flipping
Once the microwave timer goes off, your next step is to check if the egg whites have set enough for flipping. Properly cooked egg whites should be fully set and opaque to guarantee a smooth flip without breaking the yolk. Here’s how to confirm readiness:
- Gently test the egg whites with a fork or toothpick; they should feel firm, not runny.
- Look for edges of the whites to be fully set and opaque.
- Slightly wiggle the dish; if the whites don’t jiggle independently from the yolk, they’re ready.
- Avoid flipping too soon to prevent the whites from breaking apart.
- Confirm the whites are firm and opaque, signaling an even cook.
Once these signs are clear, you’re ready for flipping.
Carefully Flip the Microwave Egg Without Breaking the Yolk
When you flip your egg, use a wide, flat spatula to support both the yolk and whites gently. Tilt the dish slightly if the egg feels stuck, helping it release without tearing.
Moving slowly and carefully is key to keeping that yolk intact.
Yolk Protection Techniques
To keep the yolk intact while flipping your microwave egg, start by poking a small hole in the yolk with a toothpick to release steam and prevent bursting. This yolk protection step is vital for even cooking and avoiding mess. When you flip carefully, follow these tips:
- Use a spatula or spoon to support the yolk gently.
- Flip slowly and steadily, keeping the yolk centered on your utensil.
- If the yolk feels firm, press it gently to flatten for uniform heat.
- Allow steam escape through the hole you made before cooking.
After flipping, microwave for 10-15 seconds more to finish cooking without breaking the yolk. These simple techniques ensure your egg stays perfect and delicious every time.
Gentle Flipping Methods
Although flipping a microwave egg can feel tricky, using gentle methods helps you keep the yolk intact and the white unbroken. Start by loosening the edges of the cooked white with a microwave-safe spatula to guarantee the egg releases smoothly. For gentle flipping, either tilt the dish carefully or use the spatula to lift and flip the egg confidently in one quick motion.
Supporting the yolk during this move is vital to prevent it from breaking. You can also flip the egg onto a plate or flat surface, then slide it back into the dish for cleaner results. Practicing with slightly undercooked whites makes gentle flipping easier and reduces the risk of tearing or yolk damage, perfecting your microwave eggs every time.
Microwave the Other Side for 10–15 Seconds for Over Easy
After microwaving the first side, carefully flip the egg to expose the uncooked side and microwave it for another 10 to 15 seconds on high power. This step is essential when cooking eggs in microwave to achieve perfect over easy eggs.
To get it right:
- Use a timer to avoid overcooking
- Flip egg gently to keep yolk intact
- Poke small holes in the yolk before microwaving
- Microwave eggs on high power for consistent heat
- Handle the dish carefully when removing from microwave
Let the Egg Rest a Moment to Finish Cooking
After microwaving, let your egg rest for about 45 seconds to let residual heat finish the cooking. This pause helps the whites set evenly while keeping the yolk perfectly runny.
Don’t rush it—this simple step makes all the difference in texture and taste.
Importance Of Resting
When you let your microwave-cooked egg rest for about 45 seconds, you allow the residual heat to finish cooking it evenly. This resting period is vital for achieving even doneness without overcooking.
Here’s why you shouldn’t skip it:
- Resting lets residual heat distribute throughout the egg
- Prevents overcooking the yolk, keeping it soft or runny
- Ensures the white is tender, not rubbery
- Makes it easier to remove the egg cleanly from the dish
- Helps larger portions cook uniformly without extra microwave time
Residual Heat Cooking
Because the microwave heats your egg unevenly, letting it rest for about 45 seconds allows the residual heat to finish cooking the whites and yolk gently. This microwave technique takes advantage of the heat retained inside the egg, ensuring even doneness without overcooking.
During this resting period, the temperature remains high enough to complete any undercooked spots, resulting in a tender texture and consistent yolk softness or firmness. Allowing the egg to sit also prevents sudden temperature drops that can cause cracking or uneven textures.
Optimal Resting Time
Letting your microwave-cooked egg rest for about 45 seconds lets the residual heat finish cooking the yolk and whites evenly. This ideal resting time is key to achieving that perfect over-easy texture without overcooking.
During this pause, the temperature inside the egg stabilizes, promoting even cooking and preventing rubbery whites or broken yolks.
Keep in mind these benefits of proper resting time:
- Residual heat completes gentle cooking
- Ensures a tender, runny yolk typical of over-easy eggs
- Prevents hot spots and uneven texture
- Firms the egg slightly for easier handling
- Avoids overcooked, rubbery results
Frequently Asked Questions
How to Cook Egg Over Easy in Microwave?
You crack an egg into a sprayed microwave-safe dish, poke the yolk, cover with vented wrap, microwave about a minute.
Flip gently, microwave 10-15 seconds more, then let it rest to finish cooking perfectly.
How to Make Over Easy Eggs Step by Step?
Did you know 65% of people prefer quick breakfasts? Crack an egg in a greased dish, poke yolk, cover, microwave 45 seconds, flip gently, cook 10-15 seconds more, then serve your perfect over-easy egg fast!
How to Cook Just Egg in the Microwave?
You crack an egg into a microwave-safe bowl, poke the yolk, cover it, then microwave for 45 seconds.
Let it rest for 30 seconds, check doneness, and heat more if needed until it’s cooked just right.
How to Cook Eggs in the Microwave Without Exploding?
Think of your egg as a tiny balloon; you’ll want to gently release steam by poking the yolk before microwaving.
Cover it, cook in short bursts, and watch carefully to keep it from bursting with a pop.
Conclusion
Now that you’ve mastered these simple steps, making eggs over easy in the microwave is a piece of cake. With just a little practice, you’ll flip those eggs like a pro without breaking the yolk.
Remember, patience is key—don’t rush the process, or you might end up with a mess. So go ahead, enjoy your perfectly cooked eggs and start your day sunny side up, even when time’s tight!
By following these 10 simple steps to make eggs over easy in the microwave, you can enjoy a quick, delicious breakfast anytime. This easy microwave technique ensures your eggs turn out just right every time.