10 Easy Steps to Dye Eggs With Gel Food Coloring
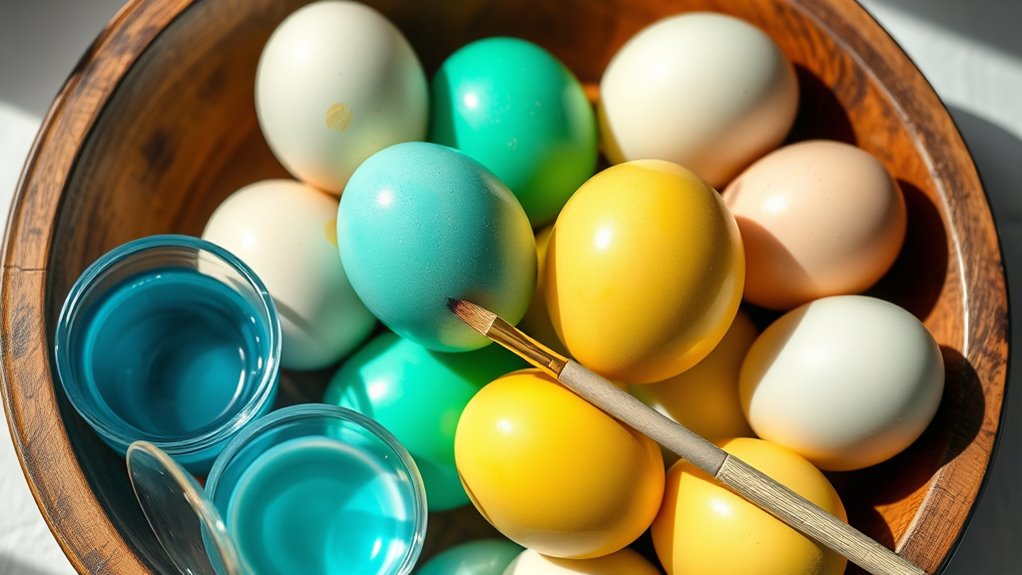
Start by boiling and cooling your eggs. Then prepare separate dye baths by mixing warm water, white vinegar, and gel food coloring. Using gel food coloring is key to achieving vibrant, richly colored eggs.
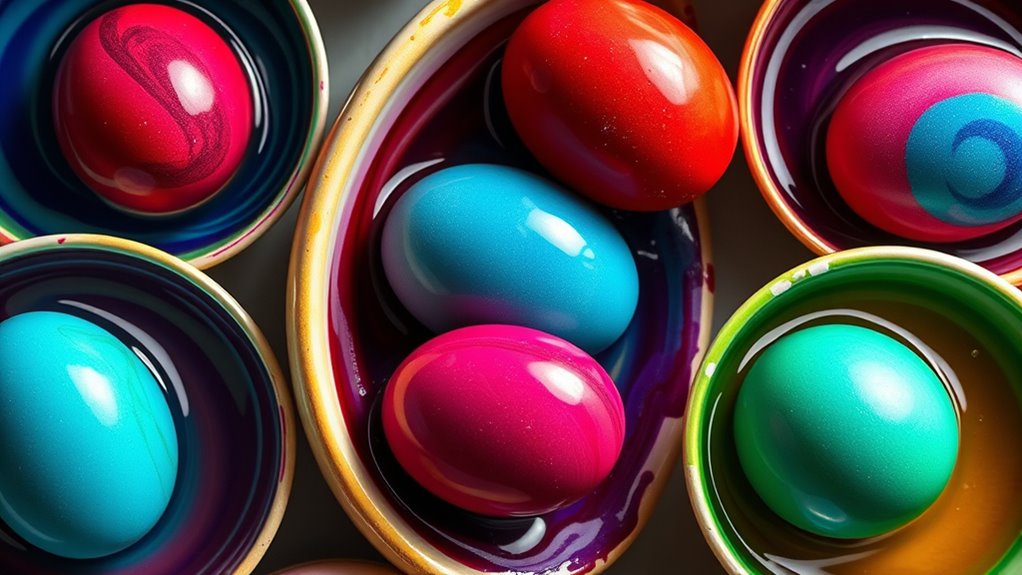
Dip each egg fully, adjusting soak time from a few seconds for pastels to minutes for deep hues. Experiment by blending colors and adding shimmer for extra sparkle.
Dry eggs carefully and store them chilled to keep colors bright. With these steps, you’ll create vibrant, evenly dyed eggs.
You can also explore more tips to perfect your technique and make your dyed eggs truly stand out.
Gather Ingredients and Materials for Egg Dyeing
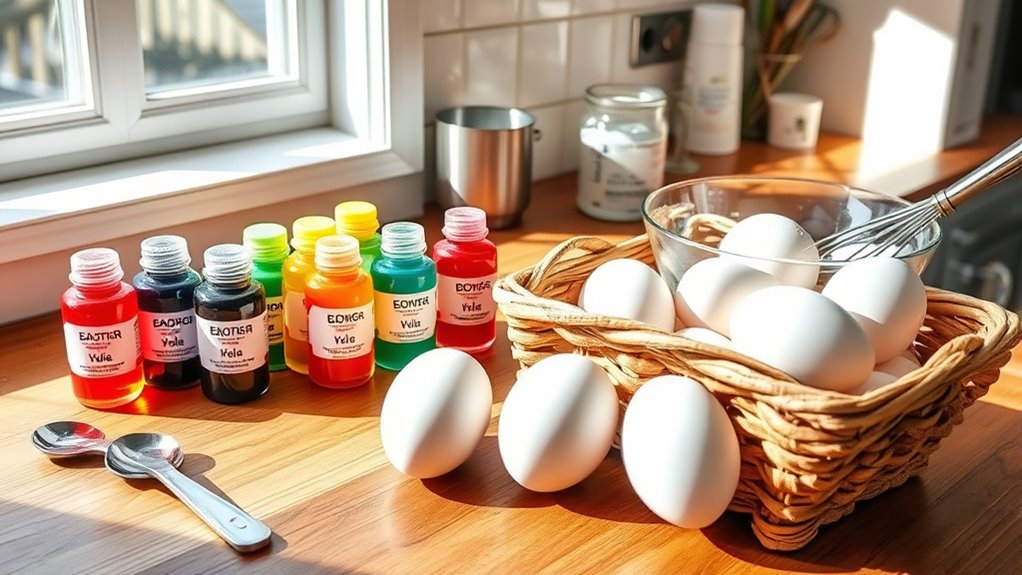
Before you begin dyeing eggs, gather all your ingredients and materials to guarantee a smooth process. You’ll need hard-boiled eggs, white vinegar, warm water, and gel food coloring. Using Ann Clark gel food coloring is a great choice because it delivers vibrant, concentrated hues that make your eggs pop.
Prepare multiple small cups or containers to hold different dye baths, allowing you to create various colors easily. In each container, mix one tablespoon of white vinegar with three-quarters of a cup of warm water—this helps the dye set better on the eggshells. Then, add three to five drops of gel food coloring per cup and stir until fully dissolved.
Once everything’s ready, you’ll be set for a fun and colorful egg-dyeing experience.
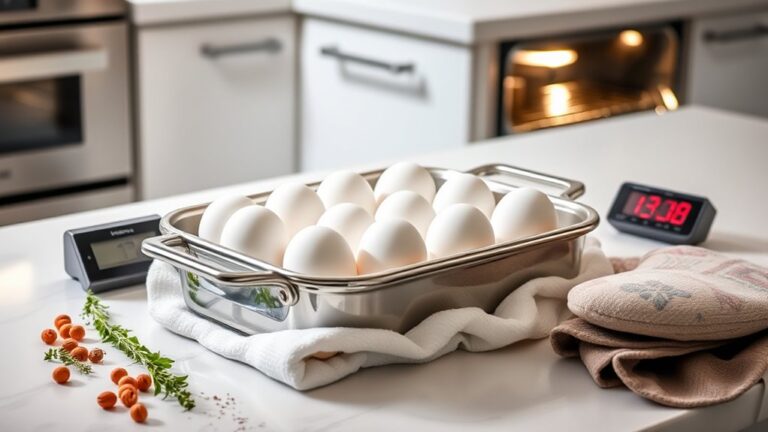
Prepare Hard-Boiled Eggs for Best Results
When you boil your eggs for 9 to 12 minutes and then cool them completely in an ice water bath, you guarantee they’re firm and ready for dyeing without cracking. Use fresh white eggs or ones stored in an egg carton for the best results. After cooling, gently tap each egg to crack the shell slightly, then peel carefully to avoid uneven spots.
Dry your eggs thoroughly with a paper towel before you start dyeing Easter eggs with gel food coloring. This step helps the drops of food coloring and egg dye adhere evenly, producing vibrant Easter eggs with gel. Place the eggs on a drying rack or clean towel to let dry fully before handling.
Properly prepared eggs ensure your dye Easter eggs project goes smoothly and your dyed eggs look flawless.
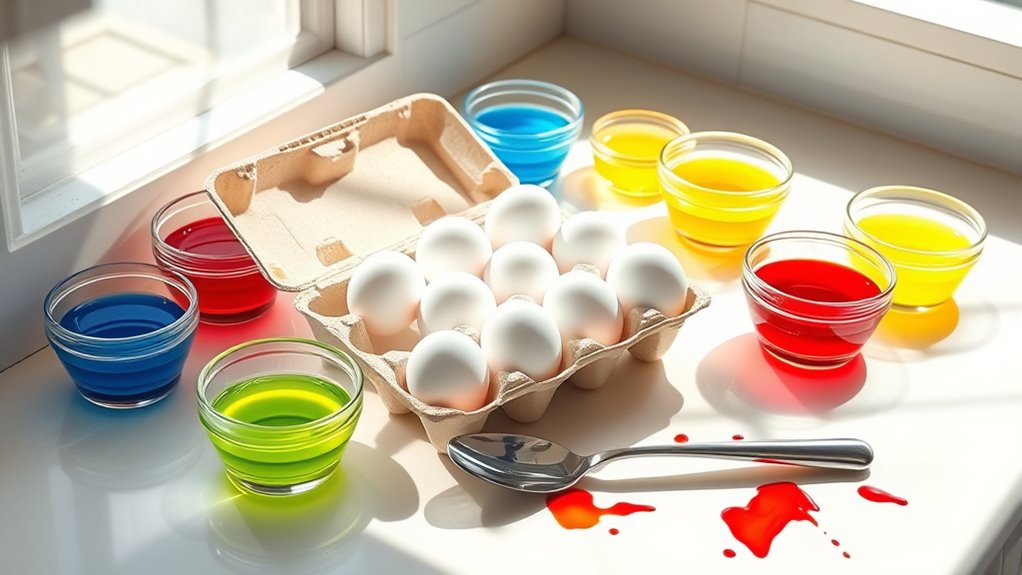
Mix Gel Food Coloring and Vinegar Dye Baths
Once your eggs are fully dry and ready, you can create vibrant dye baths by mixing gel food coloring with warm water and vinegar. Start by adding about 5 drops of gel food coloring into one cup of warm water for a rich color base. Then, stir in one tablespoon of white vinegar to help set the color and improve adhesion on the eggshells.
Make sure to stir the mixture thoroughly until the gel is completely dissolved to avoid uneven coloring. Prepare separate containers for each color to keep hues pure and prevent cross-contamination. If you prefer lighter or more intense shades, adjust the number of gel drops accordingly.
This simple step ensures your eggs will have bright, lasting colors once submerged.
Submerge Eggs in Gel Food Coloring Baths Evenly
To get even color coverage, fully submerge your hard-boiled eggs in the gel food coloring bath using a slotted spoon or tongs. Keep the eggs in the dye for 5 to 15 seconds for pastel shades or up to 2 minutes for more vibrant colors.
Gently swirling the eggs while submerged helps make certain the color absorbs evenly without smudging.
Ensuring Even Color Coverage
Although achieving vibrant colors can be exciting, you need to fully submerge your eggs in the gel food coloring bath to guarantee even coverage. Use a spoon or tongs to gently turn the eggs during soaking, ensuring the dye touches every part evenly. Keep them submerged for 5-15 seconds or until you reach your desired color intensity.
To prevent streaking, gently agitate the dye bath or move the eggs slightly while they soak. Once dyed, place the eggs on a wire rack to dry without touching their surfaces—this avoids smudging the fresh color. Following these steps helps you get smooth, uniform hues on your eggs, making your dyed creations look professional and vibrant every time.
Proper Egg Submersion Techniques
Getting an even color on your eggs depends heavily on how you submerge them in the gel food coloring bath. Make sure to fully cover the egg with dye for consistent absorption. Gently agitate the egg while it’s in the bath to spread the color evenly across all surfaces.
Using a slotted spoon or tongs helps you move the egg smoothly without lifting or tilting it, which can cause uneven spots. Keep the egg submerged for a consistent time to ensure uniform color—usually about five minutes for vibrant results.
When you lift the egg out, hold it over the bath so excess dye can drip back. This careful handling ensures your eggs come out beautifully and evenly colored every time.
Timing For Desired Shades
When you submerge your eggs in gel food coloring, the soaking time directly affects the shade you achieve. For pastel shades, soak your eggs for about 5 minutes, while deeper, more vibrant colors require up to 15 minutes. Keep in mind that shorter soaking results in lighter hues, and longer soaking produces richer, more intense colors.
Stir the dye bath occasionally to guarantee the color absorbs evenly. Watch your eggs closely and gently remove them once they reach your desired shade to avoid over-darkening or uneven patches. You can also adjust soaking times depending on how concentrated your gel food coloring is and the intensity of color you want.
This way, you get perfectly dyed eggs every time.
Adjust Soaking Time to Control Color Intensity
You can control how intense your egg colors turn out by adjusting how long you soak them in the gel dye. A quick 5-second dip gives you soft pastels, while soaking for several minutes deepens the shade.
Experiment with different times to get exactly the color depth you want.
Soak Duration Effects
Although gel food coloring works quickly, adjusting how long you soak your eggs lets you control their color intensity with ease. Soaking your eggs for just 5 seconds creates a subtle, pastel hue, perfect if you want light, delicate shades.
If you leave them in for up to 15 minutes, the color will deepen, resulting in rich, vibrant tones. The longer the soak, the more the dye penetrates, giving you fuller saturation.
To keep colors consistent, track your soak times carefully and avoid exceeding 15 minutes, which can cause over-dyeing or even cracking. When you remove eggs gently at the right time, you prevent smudging and maintain the exact intensity you want.
Adjusting soak duration is a simple way to customize your egg colors precisely.
Color Depth Control
Adjusting how long eggs soak in gel food coloring lets you control their color depth with ease. Soaking for a short time creates soft pastels, while longer dips yield vibrant, bold hues. You can tailor each egg’s shade to fit your decorating style perfectly.
Use this simple guide to adjust soaking time and achieve your desired color intensity:
| Soaking Time | Color Intensity | Best For |
|---|---|---|
| 5 minutes | Light, pastel | Subtle, delicate designs |
| 7 minutes | Soft, muted | Layered or gradient looks |
| 10 minutes | Medium saturation | Balanced, everyday hues |
| 15 minutes | Vibrant, rich | Bold, statement colors |
| 20+ minutes | Deep, intense | Uniform, solid coverage |
Dry Eggs Gently to Prevent Smudges and Cracks
When drying dyed eggs, gently pat them with a soft paper towel or clean cloth to keep the vibrant colors intact and prevent smudging. Avoid rubbing, which can damage the surface or cause color to smear. After patting, let the eggs air-dry completely on a wire rack or paper towels before moving them.
Handle the eggs by their ends or wear gloves to prevent fingerprint marks on the fresh dye. Never stack or place eggs directly on hard surfaces until they’re fully dry, as this can cause cracks. Once dry and cool, you can safely store the eggs in the refrigerator without worrying about color fading or damage.
Taking these careful steps ensures your dyed eggs stay beautiful and intact for display or gifting.
Mix Gel Colors to Create Custom Shades
Because gel food coloring is highly concentrated, you can create a wide range of custom shades by mixing small amounts of different colors. Start with tiny drops and mix thoroughly, adding more gel to deepen the hue. For lighter shades, use fewer drops; for vibrant colors, increase them gradually.
Keep track of your proportions to replicate your favorite mixes later. Experimenting with combinations lets you achieve pastel to bold colors effortlessly.
| Gel Color 1 | Gel Color 2 | Resulting Shade |
|---|---|---|
| Blue (1 drop) | Yellow (1 drop) | Soft Green |
| Red (2 drops) | Blue (1 drop) | Deep Purple |
| Yellow (3 drops) | Red (1 drop) | Warm Orange |
Mixing gels this way gives you endless creative control over your egg colors.
Add Edible Shimmer and Paint Decorations
Adding edible shimmer to your dyed eggs instantly elevates their look with a festive sparkle. To create shimmer paint, mix shimmer powder with vanilla extract, vinegar, or alcohol until you get a paint-like consistency. Then, lightly brush or sponge this mixture onto your dried eggs.
You can opt for a subtle iridescent finish or layer it on for a more vivid effect. Choose shimmering colors like gold, silver, or pearl to enhance vibrancy. Make sure to let your painted eggs dry completely before handling to avoid smudging.
For a professional touch, combine shimmer with other decorating techniques such as fine details or marbling. This simple step transforms your gel-colored eggs into dazzling Easter masterpieces.
Store Dyed Eggs to Preserve Color and Freshness
Make sure you refrigerate your dyed eggs promptly to keep them fresh and vibrant. Avoid moisture build-up by letting them dry completely before storing in a covered container.
Handle the eggs gently to prevent cracks and preserve the beautiful colors.
Refrigerate Eggs Promptly
Once you’ve finished dyeing your eggs, you should refrigerate them within two hours to keep them fresh and safe. Prompt refrigeration at 40°F (4°C) or below inhibits bacterial growth and preserves freshness. Place your dyed eggs in a covered container or egg carton to protect their vibrant colors and prevent cracking.
Avoid leaving eggs out at room temperature, especially in warm or humid environments, as this can encourage spoilage and dull the dye. Keeping your eggs chilled not only maintains their safety but also helps the colors stay bright longer.
Prevent Moisture Build-Up
Although it’s tempting to store your dyed eggs immediately, you should guarantee they’re completely dry to prevent moisture buildup that can smudge colors or cause mold. After dyeing, let your eggs sit on a paper towel or drying rack for several hours to absorb any leftover moisture.
When storing, keep these tips in mind:
- Place eggs in the refrigerator to keep colors vibrant and prevent fading.
- Use a sealed container or plastic bag with a paper towel to avoid condensation.
- Avoid stacking eggs to minimize moisture transfer and surface damage.
- Ensure eggs are fully dry before storage to prevent trapped humidity that leads to mold or discoloration.
Following these steps helps preserve your eggs’ color and freshness until you’re ready to enjoy them.
Handle Eggs Gently
When you handle dyed eggs gently, you’ll protect their vibrant colors and keep them fresh longer. Always wait until eggs are fully dry before storing to avoid smudging. Use clean, dry hands or gloves to prevent damaging the dye.
Store eggs in a single layer inside an airtight container, keeping them refrigerated at 40°F (4°C). Avoid stacking or pressing eggs together to prevent cracks and color fading.
| Tip | Why It Matters | How To Do It |
|---|---|---|
| Single layer storage | Prevents cracking and fading | Use a shallow airtight dish |
| Refrigerate at 40°F | Maintains freshness | Store eggs in the fridge |
| Handle with care | Avoids smudges and damage | Use gloves or dry hands |
Troubleshoot Common Egg Dyeing Issues
If your eggs aren’t absorbing color properly, make sure they’re completely dry before dipping them into the dye baths. Uneven or streaky colors usually mean the gel food coloring wasn’t stirred well enough—take time to dissolve it fully for a smooth dye.
When colors look dull, boost the number of gel drops or soak your eggs longer to get vibrant hues. To avoid cracks or damage, handle eggs gently and keep them away from sudden temperature changes.
Also, if colors bleed or mix, use separate containers for each dye and don’t soak eggs longer than recommended.
- Ensure eggs are dry before dyeing
- Stir gel coloring thoroughly
- Increase gel drops or soak time for bright colors
- Use separate dye baths to prevent color bleeding
Frequently Asked Questions
How to Dye Eggs With Gel Food Color?
You dissolve gel food coloring in warm water with vinegar, then soak hard-boiled eggs in the mixture for a few minutes.
Adjust soaking time for color intensity, remove carefully, and let them dry completely before handling.
How to Use Gel Food Coloring?
You mix gel food coloring with warm water and vinegar, stirring until dissolved. Then, you dip your eggs into the mixture for vibrant colors.
Lift them carefully and let them dry before handling or decorating.
What to Add to Food Coloring to Dye Eggs?
You should add warm water and a tablespoon of white vinegar to the gel food coloring. The vinegar helps the dye stick to the eggshells, and warm water dissolves the gel, ensuring vibrant, even colors without streaks.
How Long Do You Let Eggs Sit in Food Coloring?
Think of your eggs as little canvases—let them soak in the color for about 5 minutes to paint vibrant hues.
If you want softer pastels, dip them just 1 to 2 minutes, then lift and admire your art.
Conclusion
Now that you’ve mastered these simple steps, your colorful creations are almost ready to amaze. But before you proudly display those vibrant eggs, there’s one final secret to unfastening truly stunning results—will you experiment with blending unexpected hues or adding that shimmering touch?
The choice is yours, and the possibilities are endless. Immerse yourself, get creative, and watch your eggs transform into dazzling works of edible art that everyone will admire.
By following these easy steps to dye eggs with gel food coloring, you’ve unlocked a world of vibrant colors and unique designs. Enjoy the process and the beautiful results!