How to Cook a Fried Egg in the Microwave in 5 Easy Steps
To cook a fried egg in the microwave, start by lightly greasing a microwave-safe dish.
Crack a fresh egg in, keeping the yolk intact, and poke it gently with a toothpick to let steam escape.
Season with salt and pepper, then cover and microwave on high in 30-second intervals, checking often to avoid overcooking.
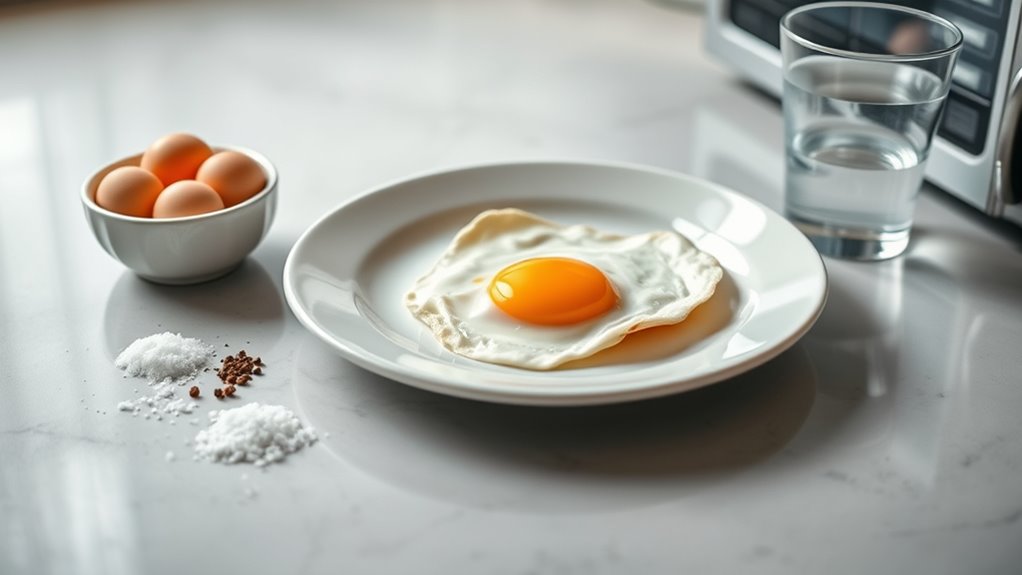
Let it rest for about 45 seconds before serving to set perfectly.
Keep these tips in mind to get the best result every time, and you’ll find even more helpful techniques ahead.
Gather Ingredients and Prep Your Microwave-Safe Dish
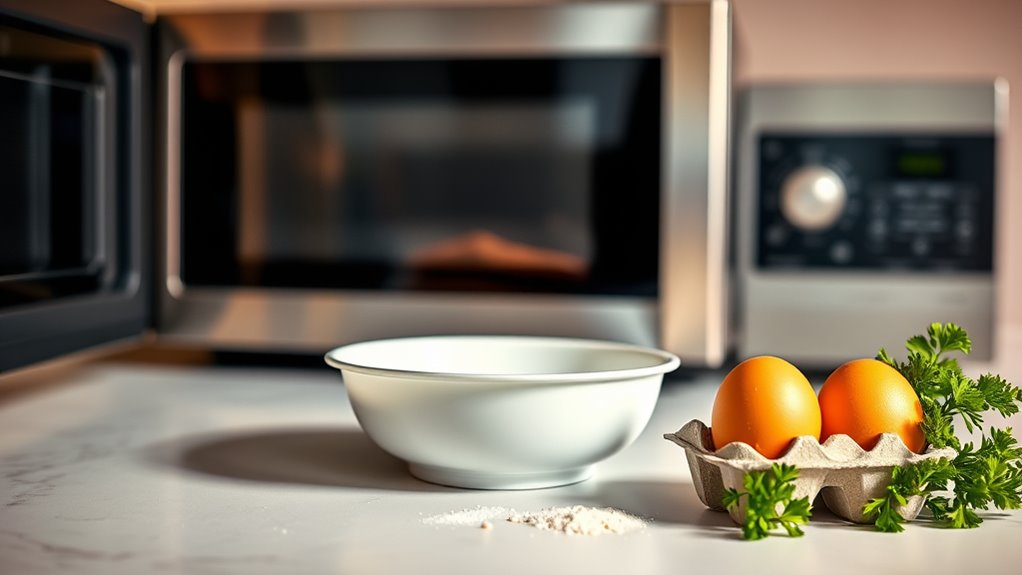
Before you start cooking, gather your ingredients and prepare a microwave-safe dish. Choose a glass or ceramic bowl or plate, as these materials heat evenly and safely. Lightly grease the dish with nonstick spray or a bit of cooking oil to prevent your egg from sticking during cooking.
When preparing eggs, use a fresh large egg for the best results. Crack the egg gently into the lightly greased dish, keeping the yolk intact. To avoid any mess or popping, pierce the yolk carefully with a toothpick or fork.
Finally, add seasoning such as salt and pepper to enhance the flavor before microwaving. Following these simple steps ensures smooth egg preparation and a delicious microwave-cooked fried egg.
Crack, Season, and Poke the Yolk
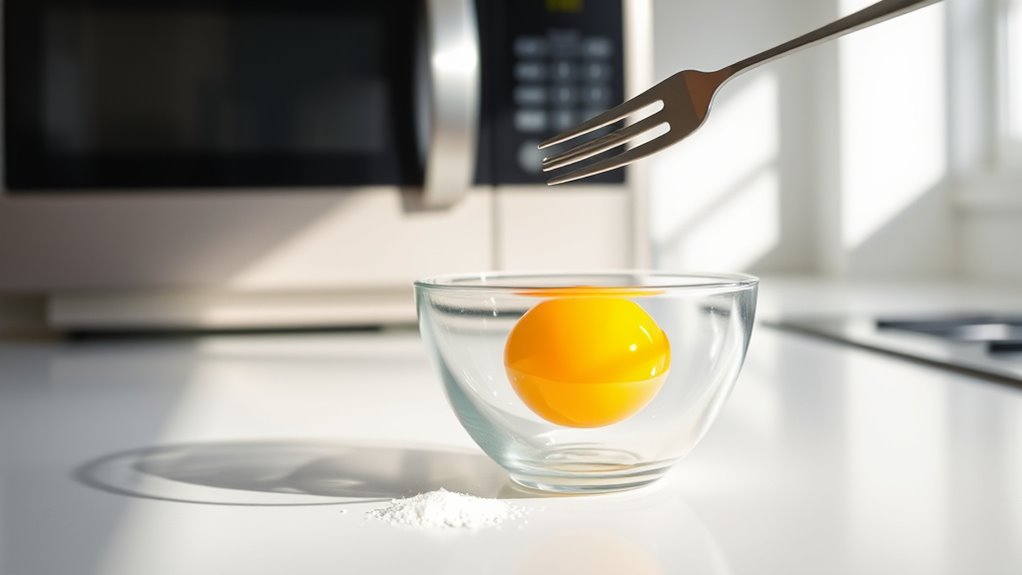
Once you’ve prepared your microwave-safe dish, carefully crack the egg into it, making sure no shell fragments fall in. Next, season the egg with a pinch of salt and pepper to enhance its flavor before cooking.
To prepare the egg properly, use a toothpick or the tip of a knife to gently poke small holes in the yolk. This step is vital because it allows steam to escape during microwaving, which helps prevent explosion and keeps your microwave clean.
Be sure to poke the yolk without breaking it, maintaining an unbroken yolk for the best presentation and texture. Taking these simple steps ensures your fried egg cooks evenly and safely in the microwave.
Cover and Microwave the Fried Egg in Intervals
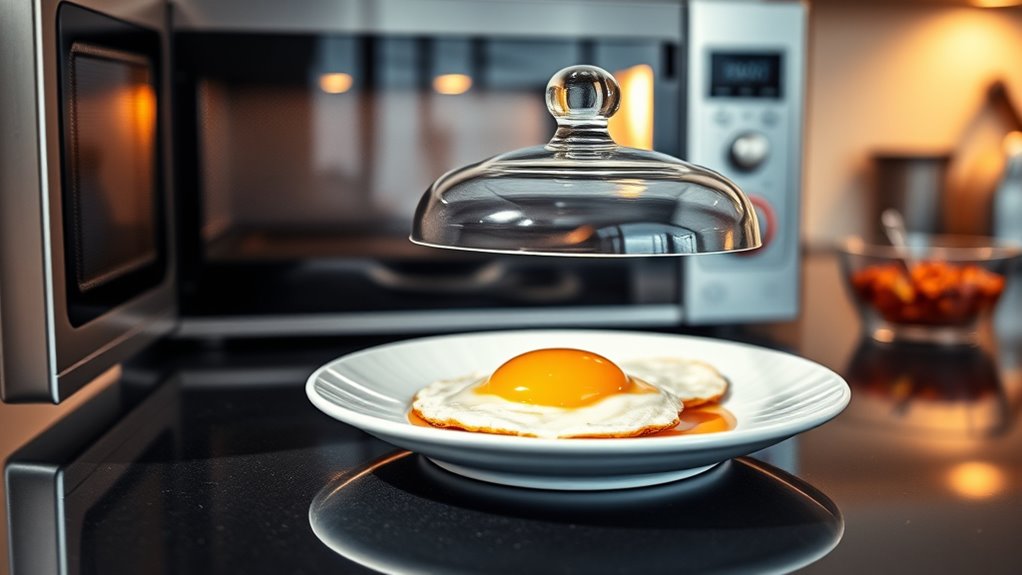
After poking the yolk to prevent bursting, cover your microwave-safe dish with a microwave-safe plate or lid to keep heat in and avoid splatters. Microwave your fried egg on high power in short intervals, such as 30 seconds, allowing you to check its progress frequently. After each interval, carefully remove the cover and check the egg’s texture to avoid overcooking.
This method helps control the cooking time precisely, ensuring the egg cooks evenly without drying out. The cover traps heat, speeding up the process while preventing messes. By microwaving in intervals and checking often, you maintain perfect doneness and avoid rubbery eggs.
Once done, you’ll be ready to let the fried egg rest, allowing residual heat to finish cooking it evenly.
Let the Egg Rest and Check for Doneness
Though the microwave has done most of the work, you’ll want to let the egg rest uncovered for about 45 seconds to let the yolk and whites finish setting. This resting period uses residual heat to gently cook the egg further, ensuring the white is set and the setting yolk reaches your desired consistency.
After resting, check for doneness by gently pressing the yolk’s center with a spoon or fork. If it feels too soft or undercooked, let it sit a little longer. For a soft yolk, remove the egg immediately after resting.
This step is vital for achieving the perfect texture without overcooking. Proper resting prevents a runny, undercooked egg, giving you a fried egg with ideal firmness and flavor.
Customize Your Fried Egg and Avoid Common Microwave Mistakes
To customize your fried egg and avoid common microwave mistakes, start by poking small holes in the yolk to prevent steam buildup and potential explosions. Use a microwave-safe dish and cover with a lid to ensure even cooking and reduce splattering. Adjust cooking time intervals in 10-15 second increments to avoid rubbery eggs.
After microwaving, let your egg rest to improve yolk consistency. Here’s a quick guide to customizing your microwave fried egg:
| Step | Tip | Reason |
|---|---|---|
| Poke yolk | Use toothpick | Prevent explosion |
| Cover with lid | Microwave-safe plate/lid | Even heat distribution |
| Adjust cooking time | 10-15 second intervals | Avoid rubbery eggs |
Following these microwaving techniques ensures perfect eggs in microwave every time.
Frequently Asked Questions
How to Do a Fried Egg in the Microwave?
You crack an egg in a sprayed microwave-safe dish, pierce the yolk, cover it, then microwave in short bursts until cooked.
Let it rest briefly, then enjoy your quick, easy fried egg.
How to Make Fried Egg in 5 Steps?
Imagine catching a sunrise on your plate. Crack the egg in a sprayed dish, poke the yolk, cover it, microwave 30–45 seconds, then let it rest.
Slide it onto toast, and enjoy your quick, golden delight!
How to Cook a Sunny Side up Egg in the Microwave?
You crack the egg into a sprayed microwave-safe dish, pierce the yolk, cover it, then microwave on high for 30-45 seconds.
Let it rest for a minute to finish cooking and set the yolk perfectly.
How to Cook Just Egg in the Microwave?
You crack the egg into a microwave-safe bowl, pierce the yolk gently, cover it, then microwave on high for 30 to 45 seconds.
Let it rest briefly before enjoying your quick, easy cooked egg.
Conclusion
Now that you’ve mastered microwaving a fried egg, you hold the power to create sunshine on your plate in mere minutes. Like a tiny sunrise captured in your dish, this simple skill brightens any morning and fuels your day.
Remember, cooking is a dance between patience and creativity—so don’t be afraid to experiment and make this quick egg your own little masterpiece.
Your kitchen adventures have only just begun! With these easy steps, cooking a fried egg in the microwave becomes a convenient, delicious addition to your breakfast routine.