How to Hatch Chicken Eggs in an Incubator in 7 Steps
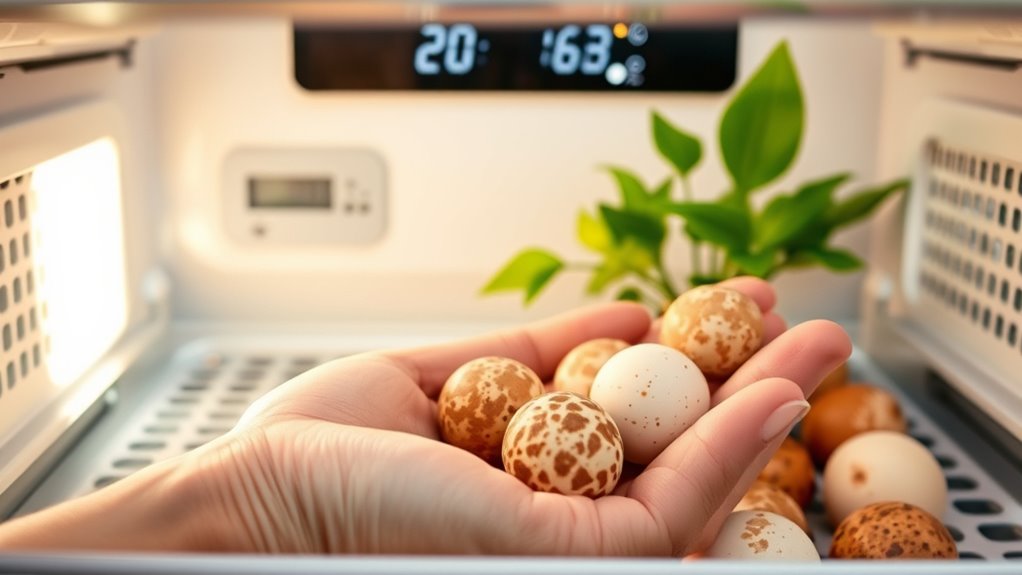
To hatch chicken eggs in an incubator in 7 steps, start by selecting fertile eggs from a reliable source and store them pointed end down at 55-60°F. Proper incubation is essential for successful hatching, so clean and set up your incubator to 99.5°F with the right humidity levels.
Place the eggs pointed end down in the incubator. Turn them regularly until day 18, then stop turning to prepare for hatching. Candle the eggs around day 7 to check for development and discard any infertile or non-developing eggs.
Increase humidity during the lockdown period (days 18-21) to help chicks hatch easily.
Finally, care for the newly hatched chicks in a warm brooder to ensure they stay healthy and comfortable.
You’ll find detailed tips ahead to boost your hatch success and raise healthy chicks from your incubated eggs.
Choosing and Preparing Fertile Eggs
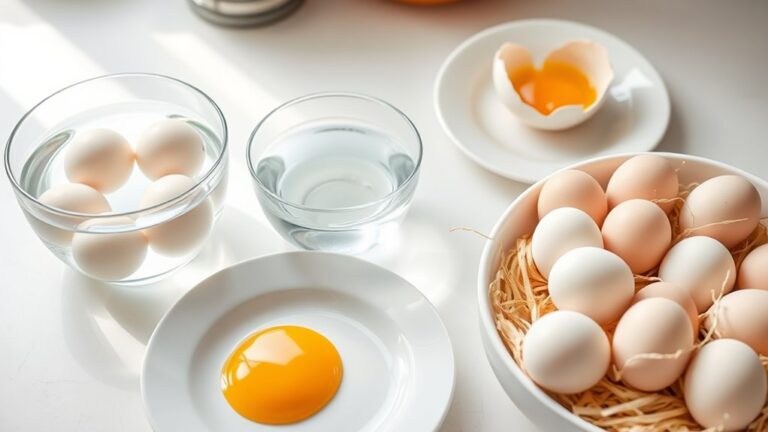
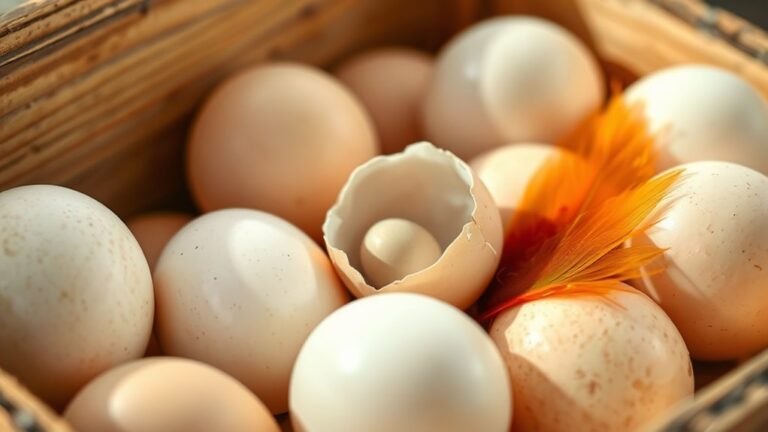
Before you begin incubating, make sure you select fertile eggs from hens housed with a rooster, since grocery store eggs usually aren’t fertilized. For successful incubation preparation, collect eggs from NPIP-certified flocks to minimize disease risk. When you handle eggs, always use clean hands or gloves to maintain proper hygiene and avoid washing the eggs; this preserves the natural bloom that protects against bacteria.
Store eggs pointy end down at 55-60°F and do so for no more than seven days before placing them in your incubator. If you receive shipped eggs, rest them for 24 hours with the pointed end down and avoid turning them during the first three days. Proper egg collection and storage are vital to ensuring your fertilized eggs stay viable for hatching.
Cleaning and Setting Up Your Incubator
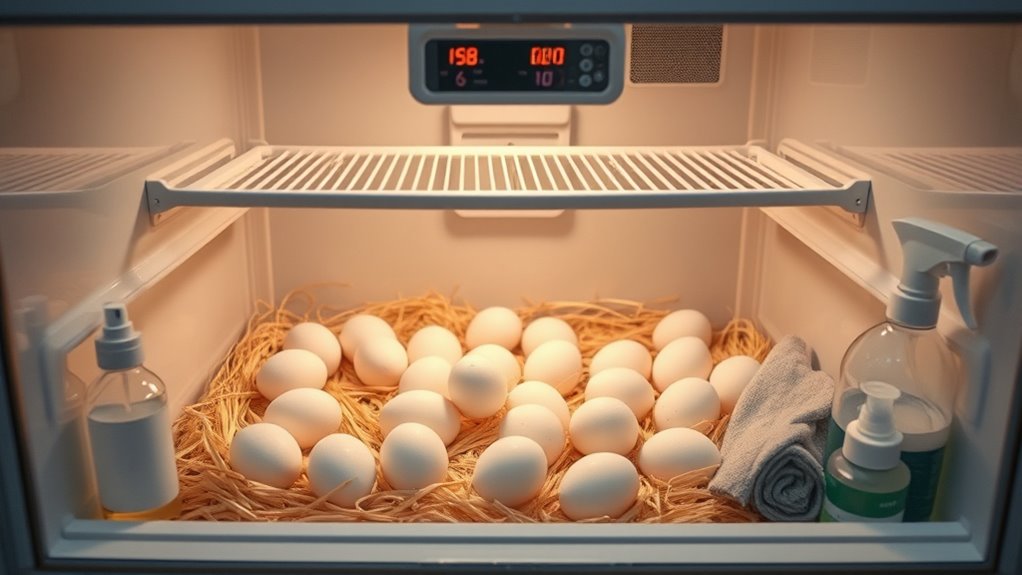
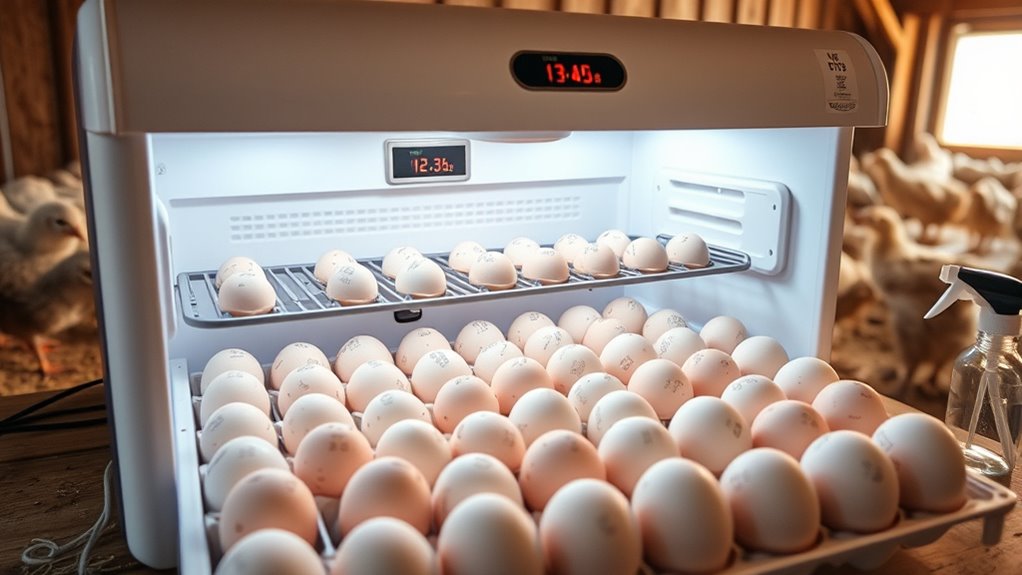
Once you’ve selected and stored your fertile eggs properly, the next step is to prepare your incubator for a successful hatch. Start by giving the incubator a thorough clean using hot, soapy water or a 10% bleach solution. Rinse all parts well and let everything air dry completely to prevent mold or bacteria.
Next, calibrate your thermometer and hygrometer to ensure accurate temperature (around 99.5°F) and humidity (50-55%) readings. Place the incubator in a stable, draft-free spot away from direct sunlight or temperature changes.
Calibrate your thermometer and hygrometer, then place the incubator in a stable, draft-free location away from sunlight.
Finally, fill the water trays to maintain proper humidity, and check that automatic turners work if you have them. Turn on the incubator at least 24 hours before setting eggs to stabilize conditions.
- Clean and air dry the incubator
- Calibrate thermometer and hygrometer
- Position incubator in a stable environment
- Fill water trays and verify turners
Placing Eggs Pointed End Down to Start Incubation
When you place eggs pointed end down in the incubator, you help keep the air cell at the top, which is essential for the embryo’s development. This mimics how a hen naturally nests her eggs, improving your chances of a successful hatch.
Make sure the large end is slightly elevated or level to maintain the right position throughout incubation.
Proper Egg Orientation
Although it may seem simple, placing eggs pointy end down in the incubator plays a crucial role in embryo development and hatch success. Proper egg orientation ensures the air cell stays positioned correctly, which supports embryo respiration and growth. When incubating eggs, keeping the pointy end down helps the embryo remain centered, reducing risks like embryo adhesion.
Here’s why you should focus on egg orientation:
- Maintains natural position for embryo stability.
- Prevents air cell shifting, essential for breathing.
- Increases hatch success by promoting healthy embryo growth.
- Helps when you turn eggs regularly without displacing the embryo.
Stick to placing eggs pointy end down throughout incubation for the best hatch results in your incubator.
Importance of Pointed End
Placing eggs with the pointed end down sets the stage for healthy embryo development by guaranteeing the air cell naturally rises to the top. This egg orientation keeps the embryo away from the air cell, reducing the risk of suffocation and promoting ideal embryo health. During the incubation process, proper placement with the pointed end down mimics natural hen behavior, which improves hatch rates.
As you turn the eggs, maintaining this incubation position prevents the embryo from sticking to the shell and supports consistent development. Starting with the pointed end down and continuing egg turning in this position ensures the embryo remains correctly aligned throughout incubation. Paying close attention to the pointed end’s placement is essential for achieving successful embryo development and a higher chance of a healthy hatch.
Turning Eggs Regularly During Incubation
To guarantee healthy embryo development, you’ll need to turn your eggs at least three times a day during the first 18 days of incubation. Turning eggs prevents the embryo from sticking to the shell and helps keep the yolk centered. Whether you use an automatic turner or turn eggs by hand, consistent egg rotation is essential throughout the incubation period.
Here’s how to manage turning eggs effectively in your incubator:
- Mark each egg with an “X” on one side and an “O” on the other to track rotation direction.
- Turn eggs gently and wash your hands or wear gloves beforehand to avoid contamination.
- If using an automatic turner, ensure it rotates eggs every 4 hours and stops on day 19 (lockdown).
- Maintain proper humidity level to support hatch day and healthy hatch chicks.
Candling Eggs to Check Development
Around days 7 to 14, you should start candling your eggs to check their development. Shine a bright light through the shell in a dark room to spot blood vessels and embryo movement, which show viability.
If the egg looks clear with no veins, it’s likely infertile and should be removed from the incubator.
Timing For Candling
Although it may seem early, you should candle your eggs between days 7 and 9 to check for visible blood vessels indicating fertility. Candling during days 7-9 lets you observe embryo development clearly. Use a bright, focused light in a dark environment to see veins and blood vessels inside the egg.
This helps you monitor the viability of each embryo in your incubator. Here’s how to time your candling:
- Candle eggs on days 7-9 to detect early blood vessels and embryo growth.
- Observe in a dark environment with a strong light source for best visibility.
- Monitor again around day 14 for a stronger vascular network.
- Remove any eggs showing no development to maintain incubator health.
Timing your candling correctly improves hatch success.
Identifying Egg Viability
Candling your eggs between days 7 and 14 lets you check for clear signs of embryo development, helping you identify which eggs are viable. When candling eggs during this period, look for visible blood vessels branching inside the shell—this confirms healthy embryo growth and good viability.
Infertile eggs will appear clear, showing no veins or movement, so you should remove them to improve your hatch rate. If you spot a blood ring, a dark circle indicating a dead embryo, discard that egg too.
Dark-shelled eggs might need a stronger light or a dark room to check eggs effectively. This viability test guarantees you focus on healthy embryos, maximizing your hatch success.
Increasing Humidity and Starting Lockdown Phase
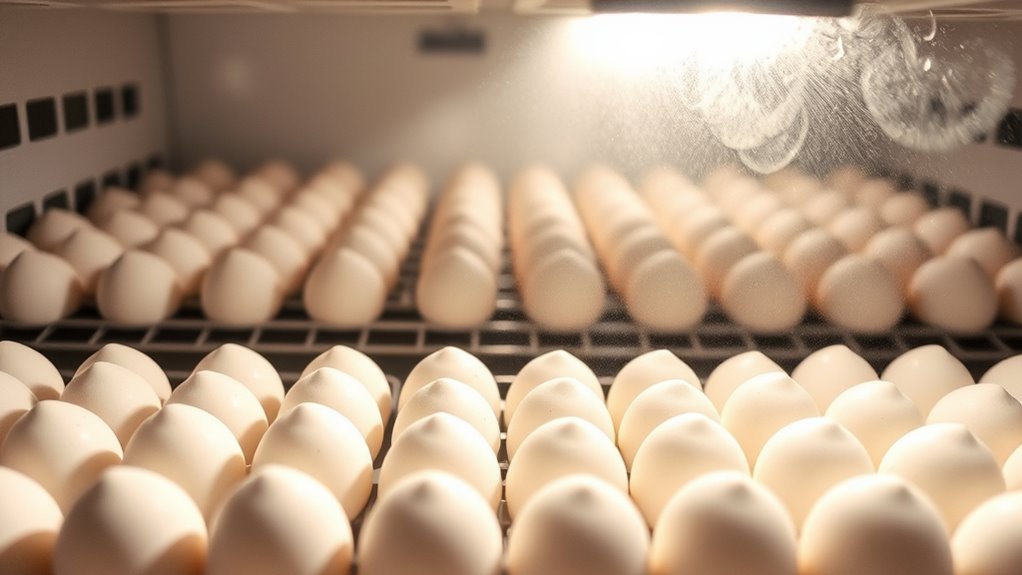
When you reach day 18 or 19 of incubation, it’s essential to increase the humidity inside the incubator to about 70% to prepare for the lockdown phase. Proper humidity percentage helps soften the shell, making it easier for chicks to pip and ensures a successful hatch.
To achieve this, follow these steps:
- Add clean, calibrated water to the incubator’s trays or channels to raise humidity levels.
- Use a hygrometer to monitor humidity accurately and avoid guesswork.
- Adjust water levels as needed to maintain stable humidity throughout lockdown.
- Avoid opening the incubator during lockdown to keep humidity and temperature steady.
Caring for Chicks and Moving Them to the Brooder
As soon as your chicks hatch, you’ll want to give them at least 48 hours in the incubator to dry off and build strength before moving them to the brooder. During this drying chicks phase, handle them gently with a soft, damp cloth to avoid stress.
Make certain the brooder is pre-warmed to 90-95°F, with clean bedding, food, and water ready. When you move chicks, place them in a quiet, draft-free area.
Pre-warm the brooder to 90-95°F with clean bedding, food, and water in a quiet, draft-free space.
Monitor brooder temperature and humidity closely to maintain ideal chick health. For the first 24-48 hours, watch that chicks are active, feeding chicks properly, and watering chicks regularly.
Proper care during this changeover ensures they grow strong and healthy in their new environment.
Frequently Asked Questions
How to Hatch Chickens in an Incubator Step by Step?
You’ll set eggs pointed-end down at 99.5°F, turn them thrice daily, candle by day 7, stop turning day 18, raise humidity, and wait until chicks hatch around day 21 before moving them to a brooder.
What Temperature to Hatch Chicken Eggs?
You should keep your incubator temperature around 99.5°F (37.5°C). Staying between 99-102°F works too, but avoid going above or below that range to guarantee healthy embryo development and successful hatching.
Maintaining a stable temperature is crucial during the entire incubation period. Fluctuations can lead to poor hatch rates or unhealthy chicks. Consistent warmth ensures that the embryos develop properly and hatch on time.
Can I Open My Incubator During Hatching?
You shouldn’t open your incubator during hatching, especially after day 18, because it disrupts temperature and humidity.
If necessary, open it briefly and quickly to avoid harming your chicks or reducing hatch success.
What to Do Before Putting Eggs in an Incubator?
Before you set your eggs to embark on their warm journey, handle them gently with clean hands. Store them pointy end down at 55-60°F.
Rest shipped eggs for 24 hours to stabilize air cells.
Conclusion
As you watch the tiny chicks break free from their shells, imagine the soft warmth of their downy feathers and the gentle peeping filling the air. You’ve nurtured life from a fragile egg to a lively chick, feeling every hopeful heartbeat along the way.
With patience and care, you’ve created a little miracle. Now, as they fluff up under your watchful eye, you’re not just hatching eggs—you’re welcoming new beginnings full of promise. Successfully hatching chicken eggs in an incubator requires attention, dedication, and the right steps to ensure healthy chicks.