10 Easy Steps to Cook Sunny Side Up Eggs in the Microwave
To cook sunny side up eggs in the microwave, start by choosing a microwave-safe dish and lightly oiling it. This method is a quick and easy way to enjoy a classic breakfast favorite without using the stove.
Crack one fresh egg into the dish, gently prick the yolk to prevent bursting, and cover it with a microwave-safe lid or paper towel.
Microwave in short bursts of about 30 seconds, checking doneness carefully to avoid overcooking.
Let the egg rest for about 45 seconds to finish cooking evenly. This resting period helps achieve the perfect texture.
Season as you like, and serve warm. Keep following these simple steps to master tips for perfect texture and flavor every time.
Ingredients and Tools You’ll Need
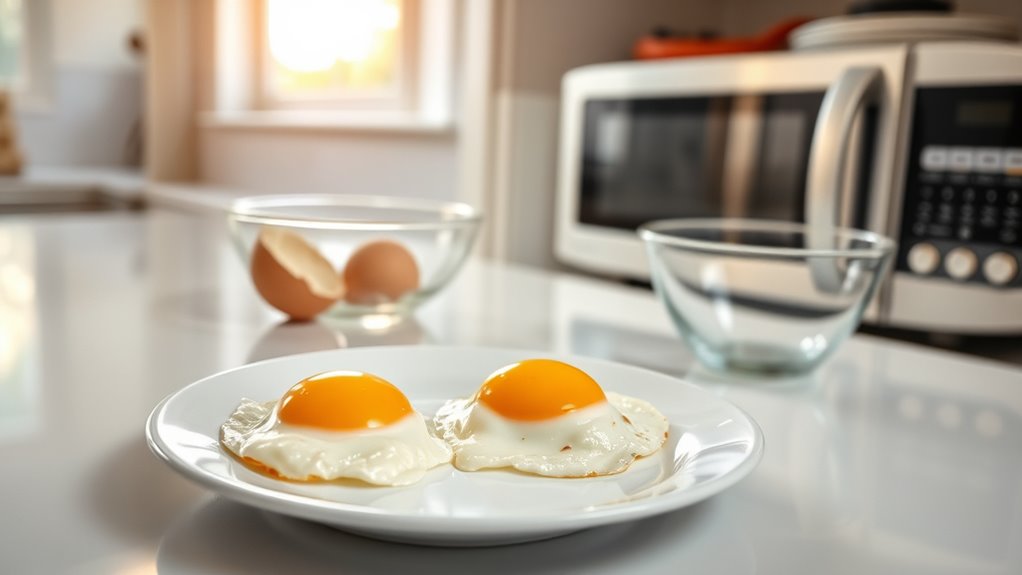
Before you start cooking, gather one fresh large egg and a microwave-safe dish like a small bowl, ramekin, or plate. Using a microwave-safe dish guarantees your egg cooks evenly without any hazards.
To keep your egg from sticking during cooking, spray the dish lightly with nonstick cooking spray or brush it with a bit of oil. This simple step saves you from a messy cleanup later.
Before placing the egg in the microwave, gently prick the yolk with a toothpick or pin to prevent it from bursting. You can also add seasonings such as salt, pepper, or herbs directly to the egg while it’s still in the dish.
Having these ingredients and tools ready will make your microwave egg cooking quick and easy.
Pick a Microwave-Safe Dish That Works Best
Selecting the right microwave-safe dish is essential for cooking your sunny side up egg evenly and safely. Choose a small ramekin, shallow bowl, or ceramic plate with a flat, smooth surface to guarantee even heat distribution and prevent the egg white from sticking. Make sure the dish is large enough—at least 4 inches in diameter—to hold the egg comfortably without crowding or overflowing.
Avoid metal or aluminum containers, as they’re unsafe and can damage your microwave. While you’ll prep the dish with cooking spray later, picking the right dish first sets you up for success. A well-chosen microwave-safe dish helps the egg white cook uniformly, producing a perfectly cooked sunny side up egg every time.
Prep Your Dish With Oil or Cooking Spray
Start by lightly coating your microwave-safe dish with a nonstick spray like avocado or canola oil for the best results. Make sure to cover the entire bottom evenly to prevent the egg from sticking.
If you’re cooking multiple eggs, reapply the spray to keep that smooth, non-stick surface.
Best Nonstick Options
Although cooking eggs in the microwave is quick and easy, using a nonstick dish or microwave-safe ramekin paired with a light coating of oil or cooking spray makes a big difference. Nonstick cookware guarantees your sunny side up eggs won’t stick, allowing for smooth release without tearing. Applying a thin layer of cooking spray or oil further prevents sticking and supports even cooking.
This prep not only keeps your egg intact but also reduces the need for excess fat, preserving its natural flavor and texture. Plus, cleanup becomes a breeze since stuck-on egg residue is minimized. Choosing the right microwave-safe dish with nonstick properties is key to achieving perfect eggs while keeping your kitchen routine simple and efficient.
Even Coverage Tips
To guarantee your sunny side up eggs cook evenly in the microwave, give your dish a light coating of oil or cooking spray. Make sure the oil or spray provides even coverage on the bottom and sides of your microwave-safe plate to prevent sticking and promote uniform heat distribution.
Before cooking, poke small holes in the yolk to avoid air pockets and ensure thorough cooking. Covering the dish with a microwave-safe plate traps heat, helping the egg cook evenly from top to bottom.
During cooking, pause to rotate or slightly tilt the dish, which helps distribute heat more uniformly across the egg. These simple steps will ensure your sunny side up eggs come out perfectly cooked and easy to remove every time.
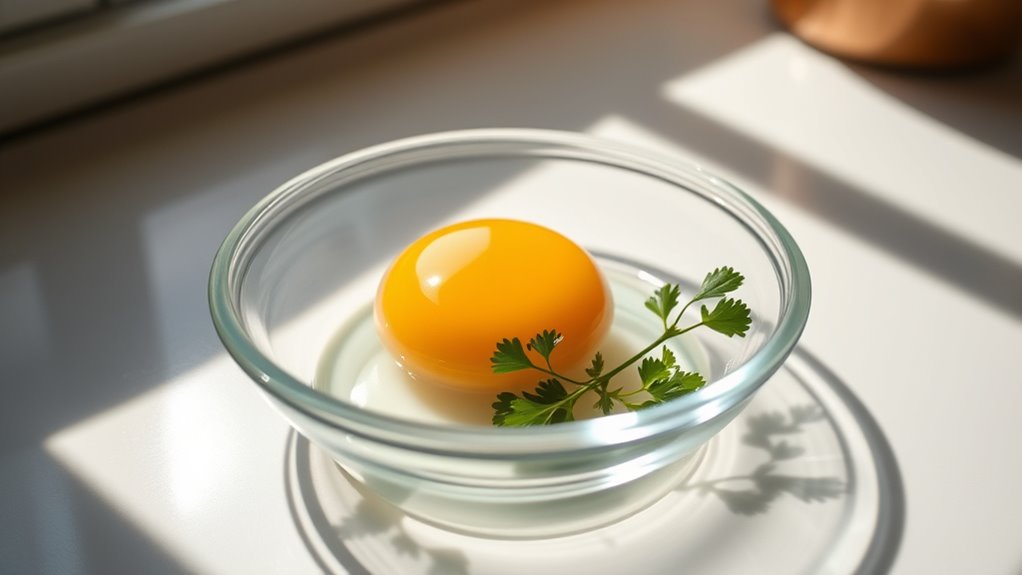
Crack the Egg and Prick the Yolk Safely
When you crack the egg into a microwave-safe dish, make sure no shell fragments fall in, and gently check the yolk for any cracks before proceeding. Handling the egg carefully helps prevent breaking the yolk or spilling its contents.
Next, take a toothpick, pin, or small knife and prick a tiny hole right in the center of the yolk. This small puncture allows steam to escape during cooking and prevents the yolk from exploding in the microwave.
Be sure the hole is small and centered to maintain the egg’s shape while ensuring safety. By properly cracking and pricking the yolk, you set the stage for perfectly cooked sunny side up eggs without any messy surprises.
Cover the Egg to Keep Microwave Mess-Free
To keep your microwave clean and cook your egg evenly, always cover it with a microwave-safe lid or plate. This simple step prevents splatters and helps the heat distribute more consistently.
Choosing the right cover can save you time and hassle while making perfect sunny side up eggs.
Benefits Of Covering Eggs
Although microwaving eggs can get messy, covering them with a microwave-safe plate or dish traps steam and prevents splatters, keeping your microwave clean. When covering eggs, you also promote even cooking by distributing heat uniformly, which results in tender whites and perfectly cooked yolks.
The trapped steam reduces drying out and shortens cooking time, making your process efficient and mess-free.
| Benefit | Description | Result |
|---|---|---|
| Covering eggs | Trap steam with microwave-safe dish | Prevents splatters |
| Even cooking | Heat distributes evenly | Consistent yolk & whites |
| Moisture retention | Traps moisture | Tender texture |
| Less mess | Contains bubbling/spills | Clean microwave |
Best Microwave Covers
Since cooking sunny side up eggs in the microwave can cause splatters, using a microwave-safe cover is vital to keep your microwave clean. The best microwave covers are made of durable silicone or microwave-safe plastic, which are easy to clean and effectively contain splatters.
Look for covers with venting features; they allow steam to escape, reducing pressure buildup and preventing egg explosions. Placing the microwave cover directly over your egg ensures even heat distribution and cuts down splatters by up to 80%.
This simple step makes cleaning much quicker and keeps your microwave mess-free. Choosing the right microwave cover not only protects your appliance but also helps you enjoy perfectly cooked sunny side up eggs without extra hassle.
Preventing Splatter And Mess
Using a microwave-safe cover not only protects your appliance but also helps keep your cooking area tidy by preventing splatters. To achieve effective splatter prevention, cover your microwave-safe dish with a microwave cover or plate that fits snugly yet allows venting. This traps steam, ensuring even cooking and reducing egg white splatter inside the microwave.
You can also place a paper towel or microwave-safe lid over the egg to absorb excess moisture and further cut down on mess. Always confirm your microwave cover is labeled microwave-safe to avoid melting or harmful chemical release.
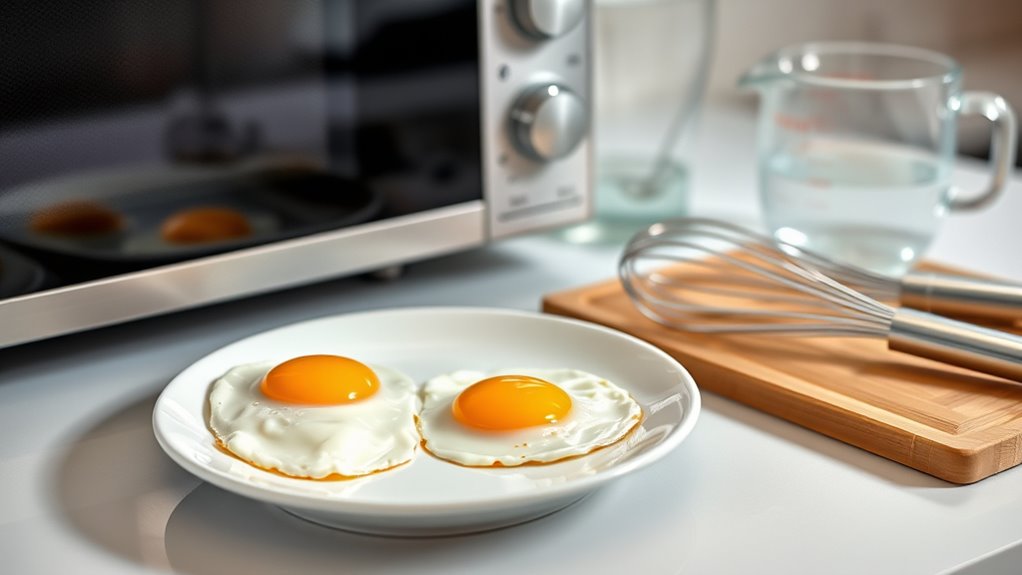
Microwave Your Fried Egg in Short Bursts
When you microwave your egg in short 15- to 20-second bursts, you can easily avoid overcooking and attain the perfect sunny side up texture. Start by placing your egg on a microwave-safe dish coated with cooking spray or lined with a paper towel to prevent sticking. Pierce the yolk with a toothpick to stop it from bursting.
Cover the dish with a microwave-safe plate to ensure even cooking and contain splatters. Microwave eggs on high power in these short bursts, checking after each to monitor the cooking whites and yolk doneness. This method lets you control how set the whites get while keeping the yolk runny or cooked to your preference, delivering a perfectly cooked sunny side up egg every time.
Check When Your Egg Is Done and Adjust Time
How do you know when your sunny side up egg is perfectly cooked in the microwave? After microwaving for 30 seconds, check the egg carefully. The white should be fully cooked—opaque and firm—while the yolk’s firmness depends on your preference.
Gently touch the center with a spatula or finger; if it feels soft or runny, modify the time by adding 10-15 second increments and recheck. Keep an eye on the appearance: a slightly shiny yolk means runny, while a matte yolk indicates it’s firm. Since microwaves vary, adjusting cooking time ensures consistent results.
Let Your Egg Rest for the Best Texture
After microwaving, let your egg rest for about a minute to let the heat finish cooking it evenly. This pause helps improve the texture by preventing a runny yolk and making the whites tender.
Taking this simple step will give you a juicier, more consistent sunny side up egg every time.
Importance Of Resting
Although it might be tempting to dig in immediately, letting your microwave-cooked sunny side up egg rest for about 45 seconds is essential to achieving the perfect texture. During this resting period, residual heat continues to cook the egg gently, ensuring the yolk isn’t too runny while the whites set just right. This step helps cooked eggs finish evenly without turning rubbery or overdone.
Resting also allows moisture and heat to redistribute throughout the egg, creating a tender, cohesive texture and a more appetizing appearance. Skipping this vital pause risks an unevenly cooked egg with a less satisfying mouthfeel. So, take a moment to let your egg rest—you’ll enjoy a perfectly cooked sunny side up with balanced, delightful texture every time.
Texture Improvement Tips
When you let your sunny side up egg rest for about 45 seconds after microwaving, you give the whites time to fully set and avoid a rubbery texture. Resting allows moisture redistribution within the egg, which helps the yolk stay tender and the whites become cohesive. During this time, the proteins in the whites finish coagulating, resulting in a delicate, satisfying texture.
Avoid cutting into or removing the egg immediately; giving it time to settle enhances the overall mouthfeel. For even better texture improvement, cover the egg while resting to retain steam and moisture, keeping it soft and moist. By focusing on proper resting, you ensure your sunny side up egg reaches its best texture every time.
Optimal Resting Time
If you want your sunny side up egg to have the perfect texture, you should let it rest for about 45 seconds after microwaving. This resting time allows residual heat to evenly finish cooking the whites and yolk. By doing so, you avoid an undercooked or runny egg, achieving the ideal doneness without overcooking.
The heat continues to gently set the egg during this period, ensuring a firm yet tender texture. Avoid immediately removing the egg from the microwave; giving it time to settle enhances consistency, especially if you prefer a slightly runny yolk or fully set whites.
Season and Serve Your Microwave Fried Egg
How can you make your microwave-fried sunny side up egg taste even better? Start by seasoning it with salt and pepper before cooking to guarantee even flavoring. You can also add herbs, cheese, or spices like paprika and garlic powder to boost the taste.
Once microwaved, give your egg a quick taste test and adjust the seasoning if needed to suit your preference. For serving, add fresh toppings such as chopped chives, cilantro, or a drizzle of chili crisp to elevate the simple egg.
Serve your perfectly seasoned egg immediately to enjoy the best texture and freshest flavor. These easy seasoning and topping steps make your microwave egg truly delicious and satisfying every time.
Troubleshooting Common Microwave Egg Problems
Although cooking sunny side up eggs in the microwave is quick and convenient, you might encounter issues like rubbery texture, uneven cooking, or even yolk explosions. Overcooking causes the proteins to tighten, making your egg tough and rubbery. Uneven cooking often results from varying microwave wattage, so adjust your time accordingly in 10-15 second increments.
To prevent yolk explosion, always pierce the yolk gently before microwaving. Using a microwave-safe lid or cover helps distribute heat evenly, reducing splatter and uneven cooking. Keep a close eye on your egg as it cooks to ensure the whites set without overcooking the yolk.
Frequently Asked Questions
How Do You Make Sunny Side up Eggs in the Microwave?
You crack a fresh egg into a greased microwave-safe dish, pierce the yolk, cover it, then microwave on high for about 45 seconds.
Let it rest briefly before serving sunny side up.
How to Make a Sunny Side up Egg Step by Step?
Start by softly spraying a small, safe dish. Slip in a single egg, softly stab the yolk, shield it, then zap in short bursts.
Let it linger, then lift and lay on toast. Enjoy!
How to Cook an Egg in a Microwave Easily?
You simply crack an egg into a microwave-safe dish, poke the yolk to prevent bursting, cover it, and microwave for 30-45 seconds.
Let it rest briefly, and you’ll have a quick, cooked egg ready to enjoy!
How to Cook Eggs in the Microwave Without Breaking the Yolk?
You can prevent yolk breakage by gently cracking the egg into a microwave-safe dish, poking a tiny hole in the yolk, covering it, and microwaving in short bursts.
This helps steam escape and keeps the yolk intact.
Conclusion
Now that you’ve mastered these 10 easy steps, cooking sunny side up eggs in the microwave is a breeze. Remember, practice makes perfect, so don’t be discouraged if your first try isn’t flawless.
With a little patience, you’ll enjoy a quick, delicious breakfast anytime. Keep experimenting, and soon you’ll have perfectly cooked eggs every time—ready to brighten your morning in just minutes.
Happy cooking! Enjoy the convenience and simplicity of making sunny side up eggs in the microwave, and start your day with a tasty, hassle-free meal.