How to Place Eggs in an Incubator in 3 Easy Steps
To place eggs in an incubator, first handle them gently—don’t wash or jostle them, and mark the collection date. Proper egg handling is essential for successful incubation.
Next, position each egg with the pointy end down or on their sides, depending on your incubator instructions, to align the air cell properly. This ensures the embryos develop correctly during the incubation period.
Finally, lay them carefully to keep temperature and humidity steady, avoiding cracks or movement. Follow these simple steps, and you’ll create the best environment for hatching success; there’s more to explore for perfect results.
Prepare Eggs for the Incubator: Cleaning and Handling Tips
Before placing your eggs in the incubator, you’ll want to handle them carefully to preserve their protective bloom and prevent shell damage. When you incubate eggs, avoid washing them because that natural coating helps keep bacteria out.
Instead, focus on gentle egg handling—don’t jostle or drop the eggs, as rough treatment can harm the embryos inside. Store eggs pointy end down in a clean, cool, and dry spot until you’re ready to set the eggs in the incubator.
To keep track of freshness and incubation timing, mark each egg with the collection date using a Sharpie. These steps ensure your eggs in the incubator have the best chance for healthy development and successful hatching.
Position Eggs Correctly in the Incubator: Pointy End Down or Sideways
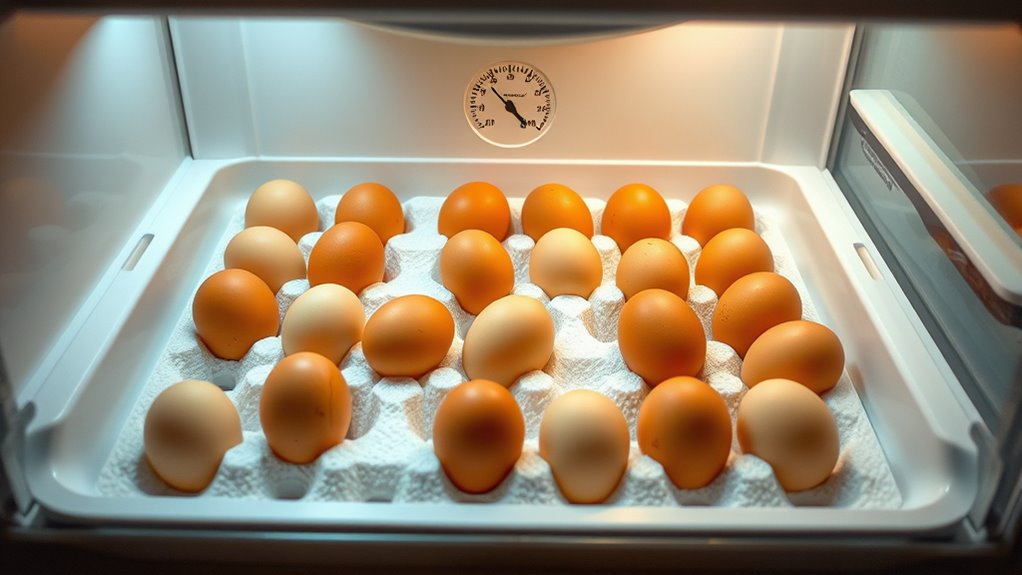
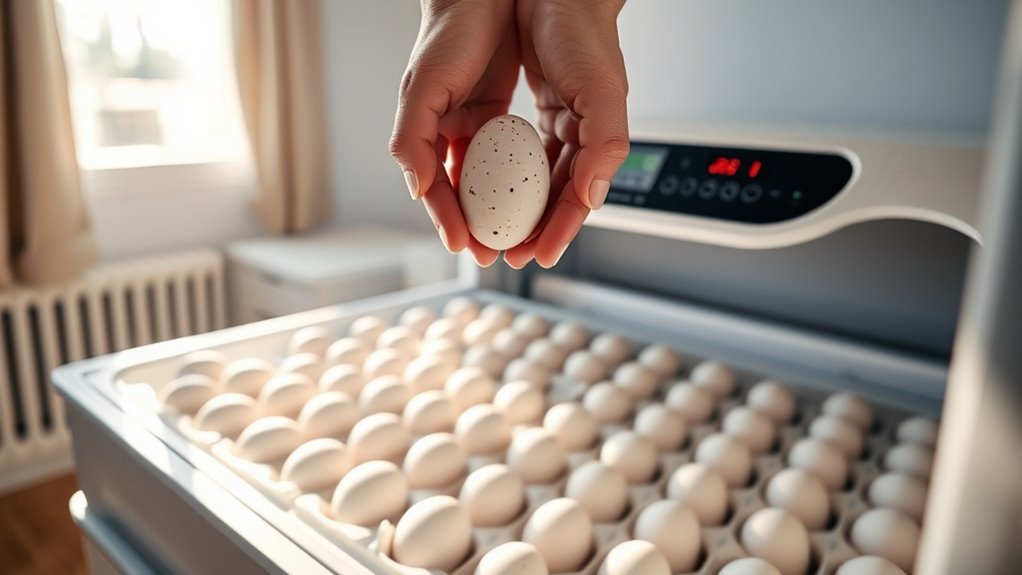
When you place eggs in the incubator, position them with the pointed end down to guarantee the air cell stays properly aligned, which is essential for healthy embryo development. Proper egg orientation supports successful incubation and hatch rates.
Follow these steps to position eggs correctly:
- Place eggs pointed end down or slightly elevated at the large end to maintain the air sac.
- Lay eggs on their sides if your incubator has automatic turning or if you plan to turn them manually.
- During the final days (18-21), position eggs upright or on their sides to aid hatching.
Always check your incubator’s instructions, but keeping eggs consistently oriented ensures the embryo grows in the right environment and improves your hatch success.
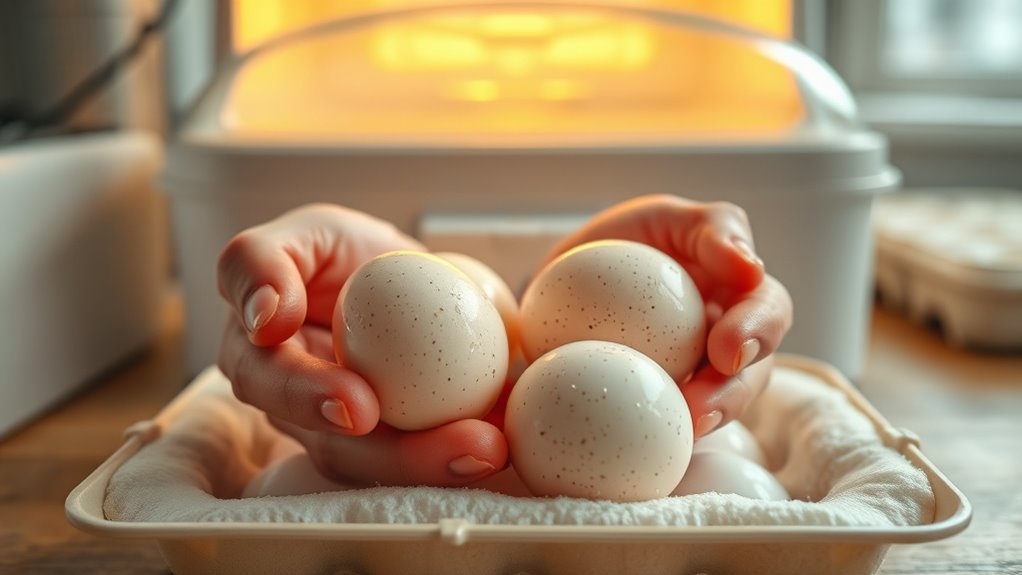
Place Eggs Gently to Maintain Temperature and Humidity Stability
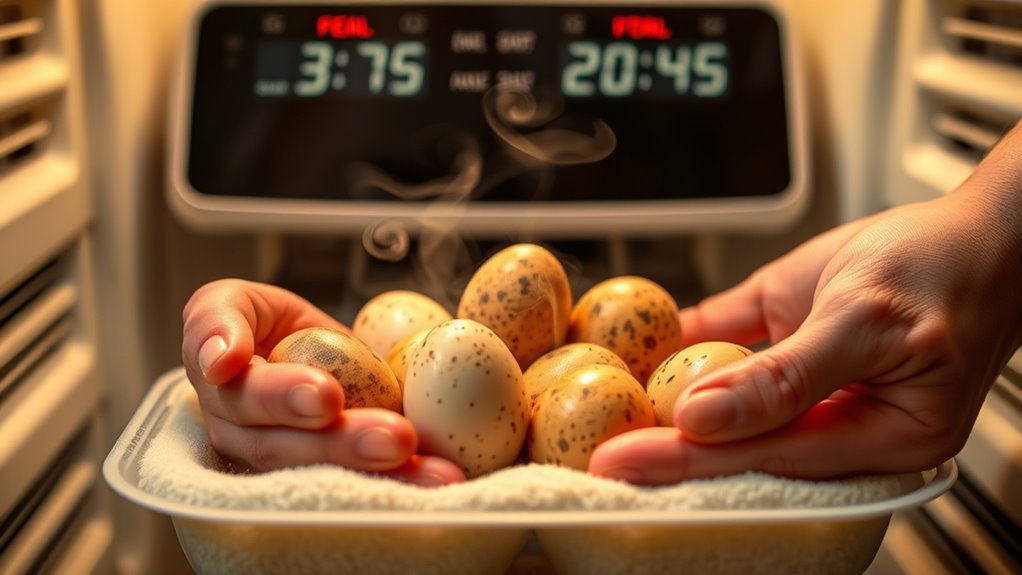
Although it’s tempting to handle eggs quickly, you should place them gently to protect their delicate shells and preserve the natural bloom that helps regulate humidity. When you put eggs into the incubator, support their sides carefully to avoid cracks or damage. Lay them flat and stable, minimizing any jarring or shaking that could disrupt the air sac or embryo development.
Placing eggs gently also maintains consistent temperature and humidity inside the incubator, vital for healthy embryo growth. Avoid excessive handling time to prevent fluctuations in conditions. By handling eggs with care and placing them securely, you ensure the incubator environment remains stable, giving your eggs the best chance to hatch successfully.
Frequently Asked Questions
How to Place Eggs in the Incubator?
You place eggs on their sides in the incubator, ensuring they’re not washed beforehand.
If you have an automatic turner, position eggs with the large end slightly elevated; otherwise, turn them gently several times daily.
Should Eggs Be Stored Pointy Side up or Down?
Think of eggs like tiny balloons with a special air pocket: you should store them pointy side down. This keeps the air sac steady, ensuring your embryos have the best chance to grow strong and healthy.
What to Do Before Putting Eggs in an Incubator?
Before putting eggs in the incubator, let them rest at room temperature for 12-24 hours, handle them gently without washing, and mark them with a pencil to track orientation and incubation progress easily.
This resting period helps stabilize the eggs before incubation begins.
Marking the eggs ensures you can monitor their position and development throughout the process.
How to Know Which Eggs to Put in an Incubator?
Imagine Sarah selecting eggs from her hens; you’ll want to pick fresh, smooth-shelled eggs laid within seven days, free from cracks or dirt.
Ensuring they come from healthy birds boosts your chances of a successful hatch.
Conclusion
You might think placing eggs in an incubator is just about shoving them in and hoping for the best, but it’s actually a bit more delicate than that. By cleaning them properly, positioning them just right, and handling them gently to keep temperature and humidity steady, you’re giving those eggs the VIP treatment they deserve.
After all, it’s not like you want to accidentally turn your future chicks into scrambled eggs before they even hatch!
Proper egg placement is crucial for successful incubation. Following these steps ensures the best environment for your eggs and increases the chances of healthy chicks emerging from the incubator.